It's been said (by The Husband, and other crazies) that pizza is like sex...even when it's bad, it's good. But, I have to disagree. Homemade pizza is not often perfect. The crust is often very bready (and maybe even raw in the middle), the cheese is mediocre, and the sauce usually comes from a can. Because of these issues (and many others), I have previously not been much of a fan of homemade pizza. But, after doing some research, and several practice runs, I have finally found a homemade pizza recipe that tastes as good as the take-out variety. Dare I say, it actually tastes even better than some of those take-out versions.
There is such a thing as bad pizza (as for the other...I'll leave that up to you, and your bedroom!), and it is usually due to some bad crust. The crust makes the whole pizza, and a terrible crust can ruin an otherwise perfect venture. I've said it before, and I'll say it again (because it's SO TRUE), the Pioneer Woman has NEVER let me down. Her recipes are always foolproof, and amazing, and her pizza crust is no different. We had tried many different crust recipes before this one, and they all came out too bready, or too crunchy, or too...something we couldn't put our finger on. This one struck the PERFECT balance between NY Style thin crust, and something you could really sink your teeth into, and chew. After one bite, The Husband declared that we need not try any other recipes. Ever. And boy, what a relief that declaration was. Pizza crust, being a bread is a fairly lengthy process, in which one must make the batter, and then leave it, to rise for hours. There are not many things so disappointing as investing 2-4 hours in a recipe, only to have the end result be less than perfect.
The other "must-have," for amazing, at-home pizza, is a delicious sauce recipe. It can't be too sweet, or too acidic, and it must have a perfect balance of herbs, and spices. It's a critical part of the pizza process, and not easy to master. The sauce recipe I use is kind of a conglomeration of several recipes that I've kind of combined into my master recipe, which has received rave reviews from The Husband, and The Family, alike. So, to all of the almost-perfect pizza sauce recipes out there in internet-land, THANK YOU, for helping me to hone my own!
A quick note about this recipe. It is a VERY lengthy process. The first time we made this, it was about 3-4 hours of on-our-feet, in-the-kitchen, WORK. I thought, well, it was just the first time, next time will go much faster. But, it was not meant to be. This time, it was another 4 hours of cook/prep time. But, the end results were more than worth it. I think this is a really great Friday Night Date-Night-In type of meal. Because it gets you, and your loved ones in the kitchen together, working on a common goal, and maybe even having a flour fight or two. It's a lot of work, but a whole lot of fun, and sometimes the biggest messes make the most fun! I also smartened up this time, and made a double batch of dough, and froze the leftovers. I also made a double batch of sauce, and froze the rest of it, as well. So two of the big jobs will already be done the next time we want to have pizza night. Obviously, you can use whatever toppings you prefer, this time, we made a couple of meat lover's pizzas, frying the bacon, and sausage ahead of time, and one caprese pizza with some basil, and tomatoes from our own garden. There are not many things more satisfying than eating food that you have grown with your own two (dirty) hands.
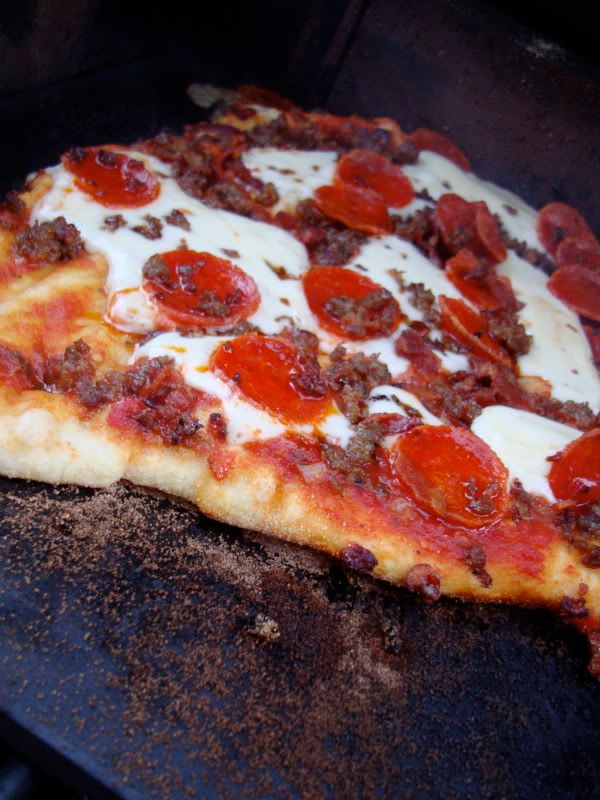
Also, the one thing we HAVEN'T perfected is the method. These pizzas are meant to be grilled, at high heat in order to achieve that delicious wood-burned taste, and texture. We saw this method on an episode of "What would Brian Boitano Make?" on the Food Network. Of course, by "we," I mean, *I* saw this method, since The Husband wouldn't be caught dead watching Brian Boitano do ANYTHING. Basically you line your grill with red, clay bricks that you can find at the hardware store. Then, place a pizza stone on top, and close up the grill, cranking the heat way up, until the inside of your grill reaches 500*. However, each time we've made this recipe using this method, the bottom of the pizza crust cooks MUCH faster than the top, which means we have to be VERY careful not to let the bottoms burn. It also means, that if you aren't careful, your pizza stone (which is a must!) may turn black. You might want to set one aside specifically for pizzas, so you don't have a whole bunch of black stones, since I also use them for baking cookies. If anyone has any suggestions for improvement, we'd love to hear them, until then, I'll keep tinkering with it, and when I come up with the perfect method, I'll update you!
Hallelujahs:Delicious, Amazing, Fresh
Hellfires:Time-Consuming, Messy
Ingredients:
1 tsp Active Dry Yeast
1 1/2 cups warm water
4 cups All-Purpose Flour
1 tsp Kosher Salt
1/3 cup Olive Oil
-Note, this amount of dough will make 2-3 fairly large sized pizzas. But, I highly suggest doubling the recipe, and freezing the extras, after rising. This will save you a lot of time in the future.
-Place warm water, and yeast in a bowl, and allow to proof until the mixture becomes frothy/bubbly. This should take about 5-7 minutes.
-I just let this proof in the bowl of my Bosch, and then after it's proofed, I added all of the other ingredients, in any, haphazard order, and turned it on. It worked perfectly. But, PW has a list of more specific instructions, as to the order of ingredients, in case you want to be perfect about it. The link is provided at the end of this recipe.
-Once you've added all your ingredients, turn on your mixer, and let it swirl! The important thing to note is that you do not need to knead this dough. You just mix it until it's well combined (only a couple of minutes), so this is much faster than traditional doughs.
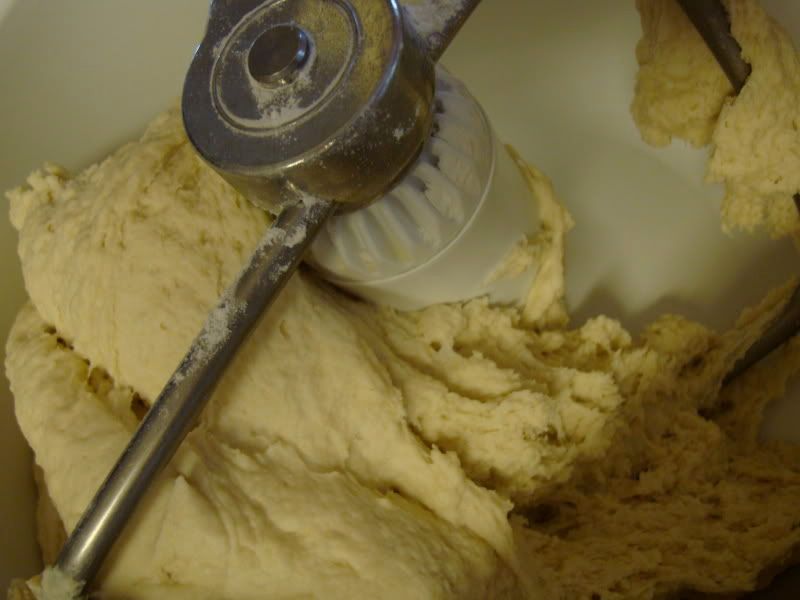
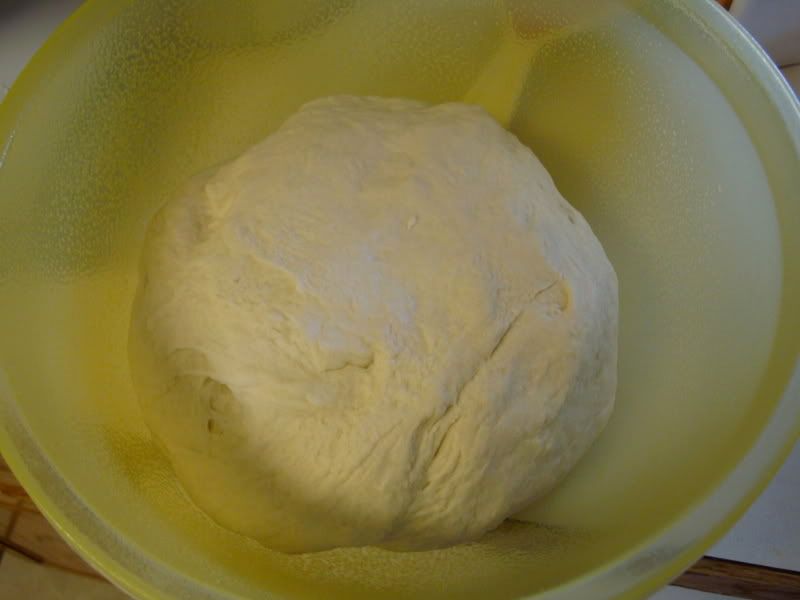
-Once the dough is mixed, place it into a well-oiled bowl, and cover with saran wrap. Place the bowl into a warm, dry place, and allow it to rise until it doubles in size. I think it took about an hour and a half for me.
Before Rising:
After Rising:
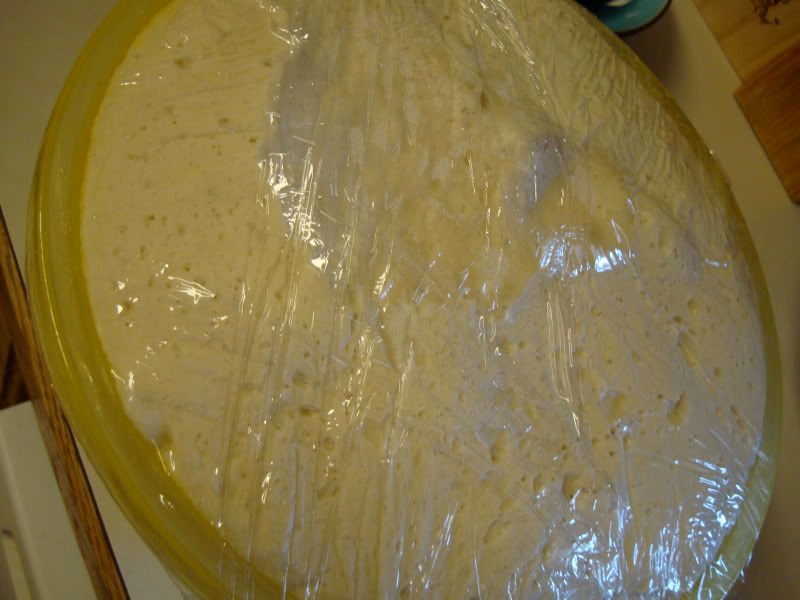
Original Recipe: PW Basic Pizza Crust Recipe
Homemade Pizza Sauce:
Ingredients:
A few tablespoons of olive oil
1 small onion, diced VERY finely
4-6 garlic cloves
1/2 tsp red pepper flakes
1 tsp dried oregano
1 can of crushed tomatoes (14 ounces)
1 can of tomato puree (14 ounces)
Handful of Sugar
Salt and Pepper, to taste
Fresh Basil, 10-12 leaves
Fresh Rosemary, 1 sprig
-First, drizzle the olive oil into a deep frying pan, and let it get hot.
-Add your finely chopped onion, and saute until it gets a little bit translucent.
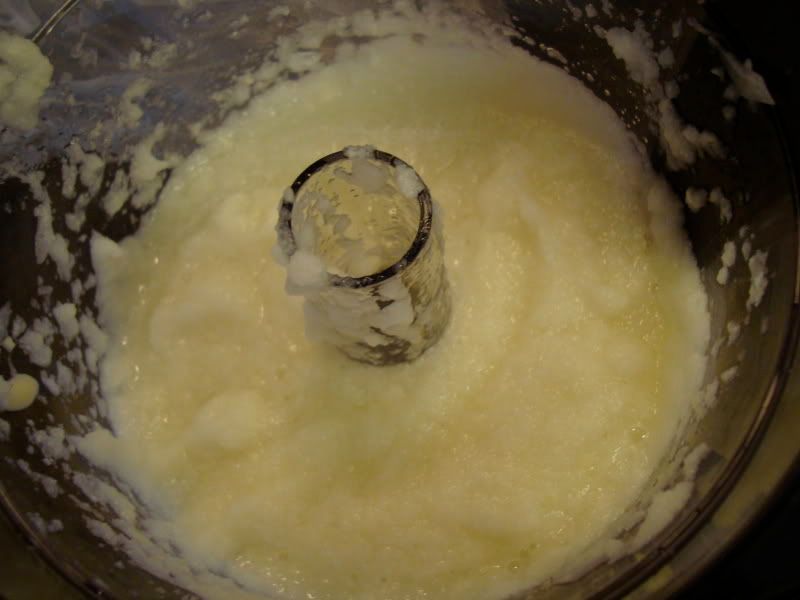
-Interesting story here...I happen to HATE biting into large chunks of onions. So, I got the bright idea to place the onions, and garlic into my brand spankin' new food processor in order to have very finely chopped onions. Unfortunately, this did NOT work out. It turned them into an applesauce-like consistency that was watery, and disgusting. I had to scrap it all, and just chop the onion SUPER fine, the old-fashioned way.
The Mess:
The RIGHT way:

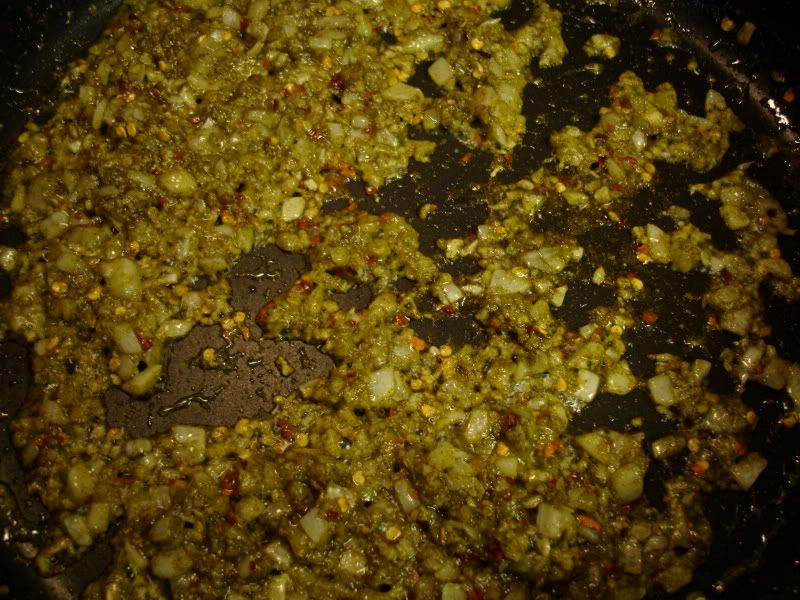
-Add garlic (use your handy-dandy garlic press), red pepper flakes, and oregano, and saute for about 3 minutes more. The oregano turns your onions and oil a beautiful bright green color.
-Add your crushed tomatoes, and pureed tomatoes, along with your basil and rosemary. I like to add a LOT of basil, and a much smaller amount of rosemary.
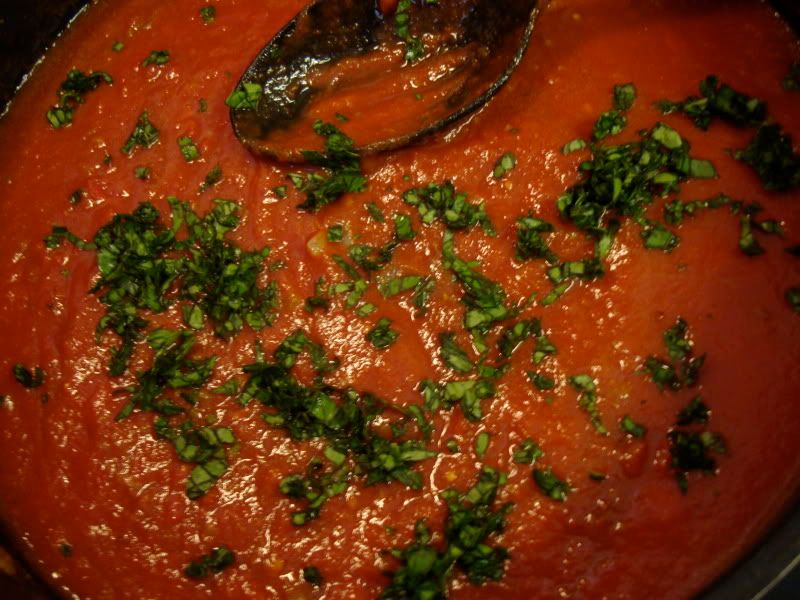
-The easiest way to cut fresh basil is to roll several leaves together, and slice along the short end. I like to then go back over, and dice a little bit finer after.
-Add your salt and pepper, cover, and cook for about 10 minutes.
-Add a handful of sugar to cut some of the acidity of the tomatoes. Stir, and re-cover.
-Continue cooking for about 10-15 minutes, stirring occasionally.
-Remove sauce to a bowl, to cool.
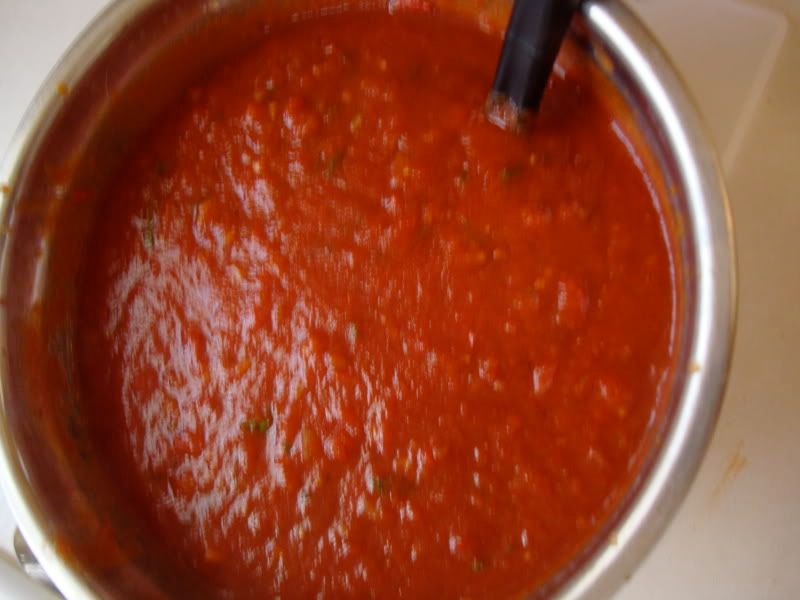
-Note: I've provided the recipe for one batch of pizza sauce, but the best method is to make a double batch, and freeze the leftovers, making your next go-round MUCH simpler.
-Also, the original recipes said to allow the sauce to cool to room temperature before spreading it onto the dough, but I'm NEVER patient enough for that, and I've not ever had an adverse outcome because of it.
Putting it All Together
Ingredients:
A couple of tablespoons of olive oil
Toppings of choice (I used sausage, pepperoni, and bacon for one, and fresh tomatoes, and basil for the other)
FRESH mozzarella cheese
Cornmeal for sprinkling
-Roll Out your pizza dough, as thin as you like it. I prefer it to be really thin.
-Place the rolled out dough on top of a cookie sheet covered in cornmeal (to allow it to slide off onto the grill. If you have a pizza paddle, this would be even better, but I don't own one, so I use large cookie sheets. Use a LOT of cornmeal, so your pizzas don't stick to the cookie sheet (or pizza paddle).
-Place a tablespoon or so of olive oil on the dough, and then sprinkle on some garlic powder before adding your sauce.
-Add a ladle-full of sauce and spread it around the pizza.
-Slice your fresh mozzarella, and spread it around the pizza. It is REALLY important to use fresh mozzarella here. I bought mine from Wal-Mart, and it was only $3.22 for a pack, and it took 2 packs for 4 pizzas, so it's not as crazy expensive as you might be thinking.
-Add your toppings to the pizzas.
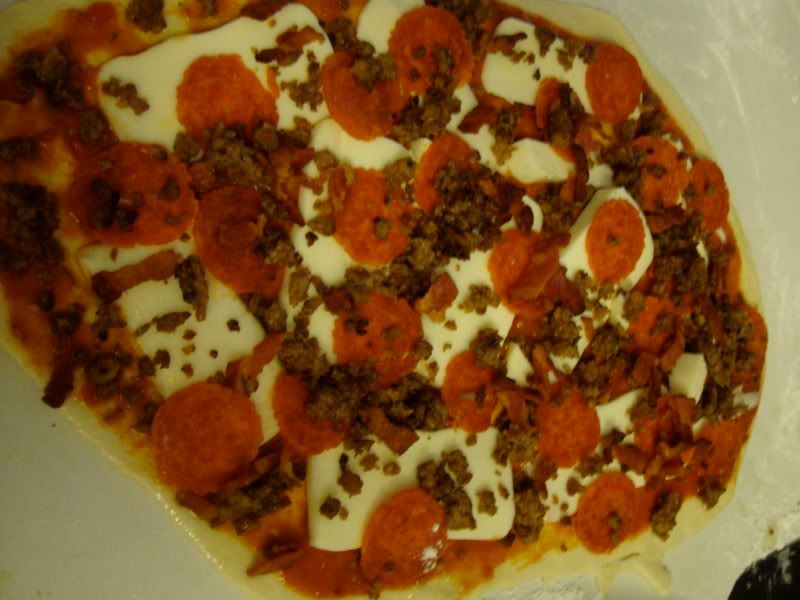
-Take them to the grill, and slide them onto the hot pizza stone (cover the pizza stone with cornmeal too, to make removal of the pizza easier). Close up the grill, and bake for about 5 minutes. They cook VERY fast because of the high heat. Just check them at 4 minutes, and if they don't seem done, close that baby up, and give it another 2-3 minutes. Just watch that the bottoms of your crusts don't burn.

-If it seems like the bottom of your pizzas are finished before the mozzarella is melted, you can always remove it from the grill, and put it in the oven, on broil to finish the top!
-ENJOY!

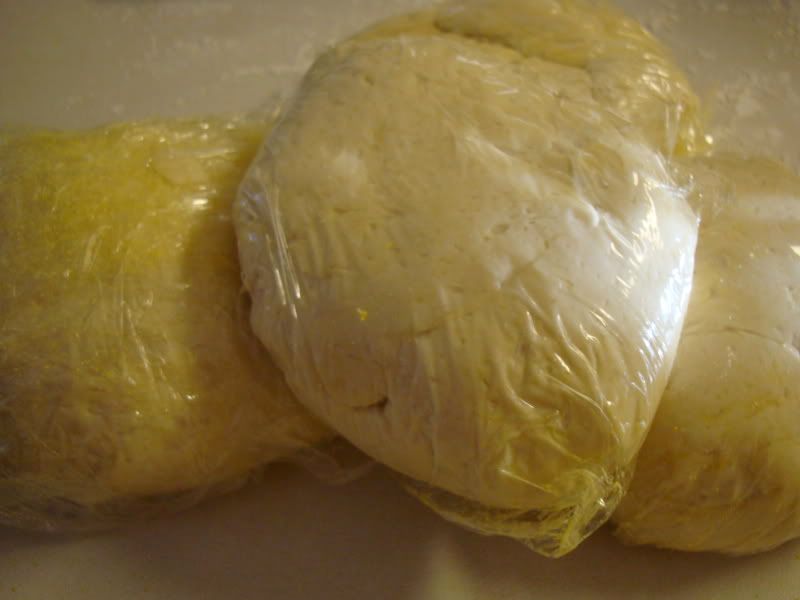
-In order to save your leftover dough for next time, you need to shape it into individual sized balls, and then wrap them up EXTREMELY well in saran wrap. You want ALL areas of that dough to be covered. Then place the wrapped balls in a freezer bag, double bag it, and place it in your deep freeze. I usually spray the saran wrap with Pam, or the generic version of it, first, in order to make sure that it doesn't stick.
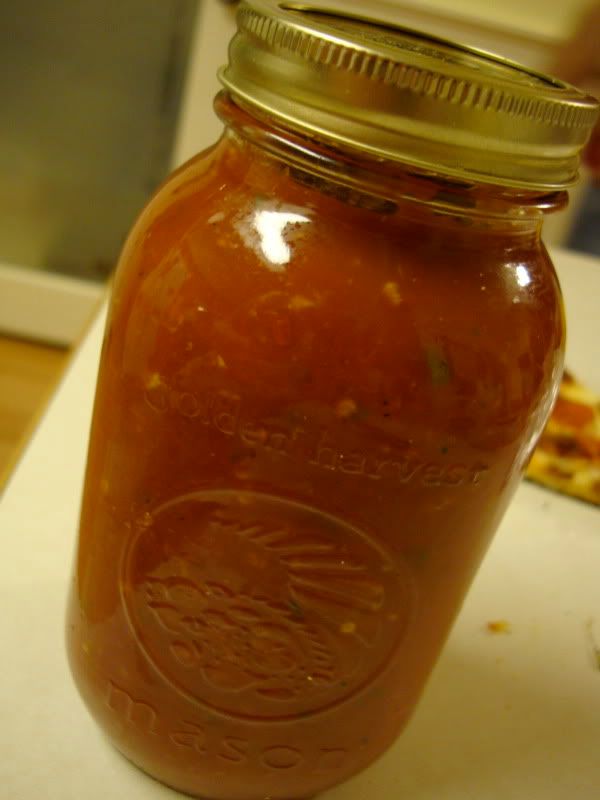
-For the sauce, I like to place mine into a mason jar (but leave room at the top for expansion), and then put the mason jar into a freezer bag. Place this deliciousness inside the freezer, and you're already ahead for the next time.
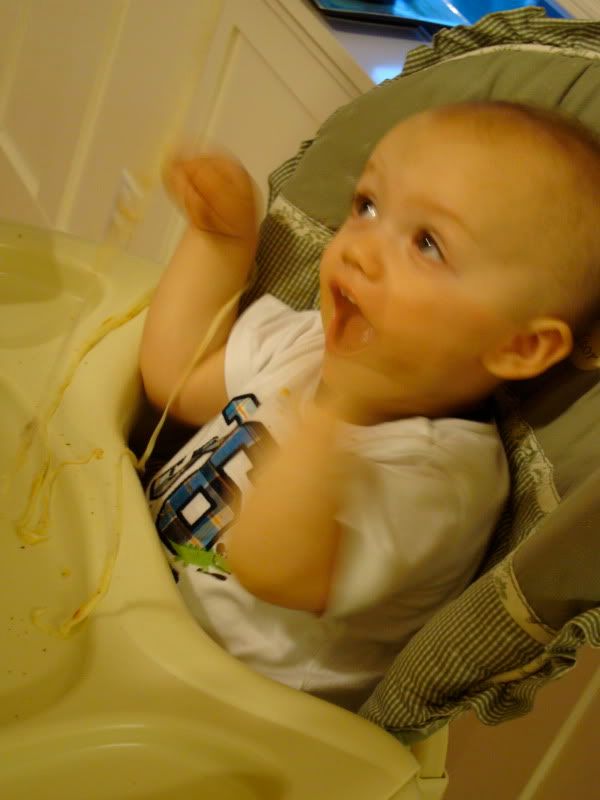
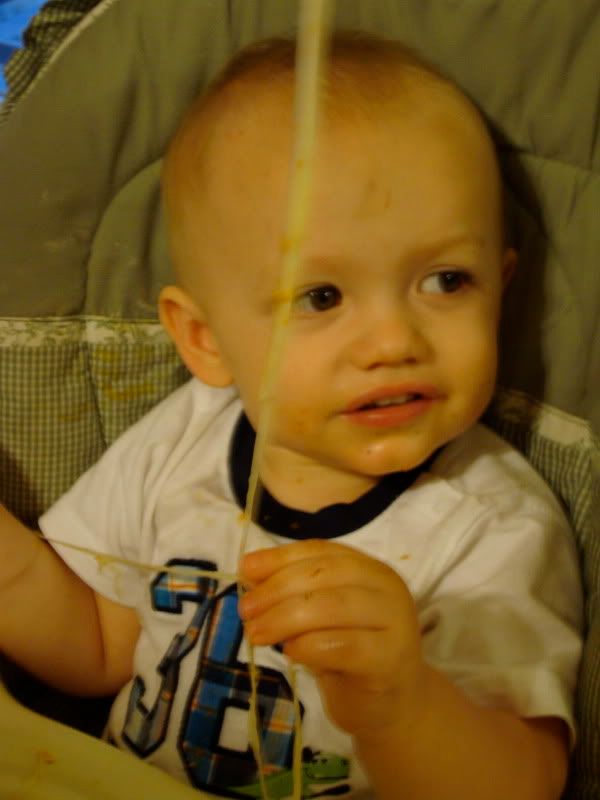
Now, THIS is why it's so important to us fresh mozzarella cheese. It makes feet, and feet, of delicious, melty goodness for cute kiddos, like my nephew, Nathan, to get all tangled up in!

I do grilled pizza A LOT (I just get dough from the local pizza place for $3 a ball--much easier :-) But I grill one side of the dough first, take it off, bring it inside and top the cooked side and then put it back on and cook the other side and let the cheese/topping melt. I found if I put the pizza on the grill when the entire dough is raw and the toppings are on it, the bottom cooks but the top is raw.
ReplyDeleteSounds delicious! May have to try this sometime.
ReplyDelete