Showing posts with label family. Show all posts

Thursday, August 5, 2010

Chicken 'n Dumplings, by request, and a note about your health (sort of!)

Photobucket

So, this seems to be the week of the 'n recipes! Which means it's a week of truly delicious food. See the last post (HERE) for an explanation as to what makes the 'n so special! When I was trying to decide which recipes to post the other day, I posted a little poll on my personal facebook page (I will now do these on the Kelley's Kitchen Revival Facebook page, so be sure to click the 'like' button to the right of this entry!), and the recipe for green beans 'n bacon was the far and away winner. But, I had a special request for the Chicken 'n Dumpings recipe by an awesome girl, Ashley, and since she is a total foodie herself, and also has a great food blog (Click here to see her handiwork!) I am more than happy to oblige her!

Now, before I dispense with the deliciousness that is Chicken 'n Dumplins, there are a few housekeeping notes I'd like to get out of the way right now. First, let's sit down, and have a little chat about your health. Go ahead, get comfortable. Ready? Okay. There were a LOT of comments on the amount of butter in the Green Beans 'n Bacon recipe I posted earlier this week. A lot. Many of you were concerned for my health, perhaps rightfully so. Because I'm about to post another recipe which involves a fair amount of butter, I thought this would be a good opportunity to illustrate an important point. Just because I am a pre-med student, hoping to be a great doctor one day does not mean that I am dispensing ANY health-related advice on this website, nor does it mean I take particular care with my own health when it comes to nutrition. This website is strictly about GOOD FOOD, and sometimes good food is good, because it's so bad for you!

Plenty of Southern recipes fall into this category, including the one I'm about to share. If you're like me, and you like to live life on the edge, throw in that extra stick of butter and enjoy every last bite of deliciousness that results from its inclusion (and learn to love those extra pounds too, there's nothing wrong with a little extra cushion for the pushin'!). If you're like my uber healthy sister-in-law, Andrea, you'll learn my recipes, and then bastardize change them up, and make them healthier on your own. For example, when she makes my biscuits 'n gravy, she uses honey instead of sugar, and a heck of a lot less butter when she makes the chicken 'n dumplins. Whether you decide to live a little, and enjoy some great food, or healthy it up a little, and stay on the straight and narrow is between you, and your hips (or your heart), and your God! Amen!

Okay, now that that's out of the way, let's introduce these beauties, known as chicken 'n dumplins, and talk about what they are, and more importantly what they are NOT. If you do a quick internet search for the words chicken 'n dumplins (or dumplings, for the grammatically correct folks) you will see a whole lot of recipes for a conglomeration of chicken soup with biscuits on top. Note, this is NOT (let me repeat that again, NOT) chicken 'n dumplins. It makes no matter whether the biscuits are from a can, or you slaved over the dough for hours, it is simply a flat out lie to call these monstrosities chicken 'n dumplins, and one of the seven deadly sins at this here revival. No. Chicken 'n dumplins are a beautiful marriage of shredded chicken, and fresh-made, hand-rolled dumplins, which combine with chicken broth to form a thick, delicious gravy. There's no pulling these bad-boys from a can, or in a boxed-dinner at your local Wally World. They are Southern home-cookin' at its finest, and take a little bit of time, and a little bit of work to master. But the end result is worth every minute of your precious time in the kitchen, trust me on this.

My Mom taught me how to make this recipe, and I've been trying to perfect it since I was a child. I can remember standing in the kitchen with her trying to help, but being WAY too slow to roll the dough, cut it, and add the dumplins to the pan. So, I got to sprinkle the paprika, while I watched her work. I loved watching the dumplings disappear into the boiling froth, and then pop back up, glistening and puffy. It was almost mesmerizing. My Mom learned the skill from her Dad, my Papal, who died this past February, and was a truly awesome man. His specialties were chicken 'n dumplins, and pone bread. Don't worry, I don't really understand what pone bread is, either, all I know is he made it, and it was delicious. Maybe we'll get my Mom to do a guest post, and teach us all a thing or two about it.
Papal:
Photobucket
With my brother and I as kids:
Photobucket
With us (and my Mom, and little Landon) as adults:
Photobucket

Okay, now onto the FOOD!

Hallelujahs:Delicious, Amazing, and completely nostaligc, really simple, common ingredients
Hellfires:They do take some time, and some practice, but come on, you can do it!

Chicken 'n Dumplins


Ingredients:
2-4 Chicken Breasts (bone-in, skin-on)
Water
Chicken Bouillon Cubes
Rotisserie Chicken Seasoning (optional)
Paprika
Chicken Stock/Chicken Broth
3.5-5 cups Self-Rising Flour (ISH!)
8 Eggs
Salt/Pepper to taste


-The first thing you're going to do is get your chicken going. Place your chicken breasts in the bottom of your stock pot. I like to use the same Paula Deen pot I featured in this post.
-You're going to use between 2-4 chicken breasts depending upon the size of the breasts (go ahead, giggle now), as well as how much of a chicken to dumplins ratio you would like. This time I used two breasts, and probably should have used 3.
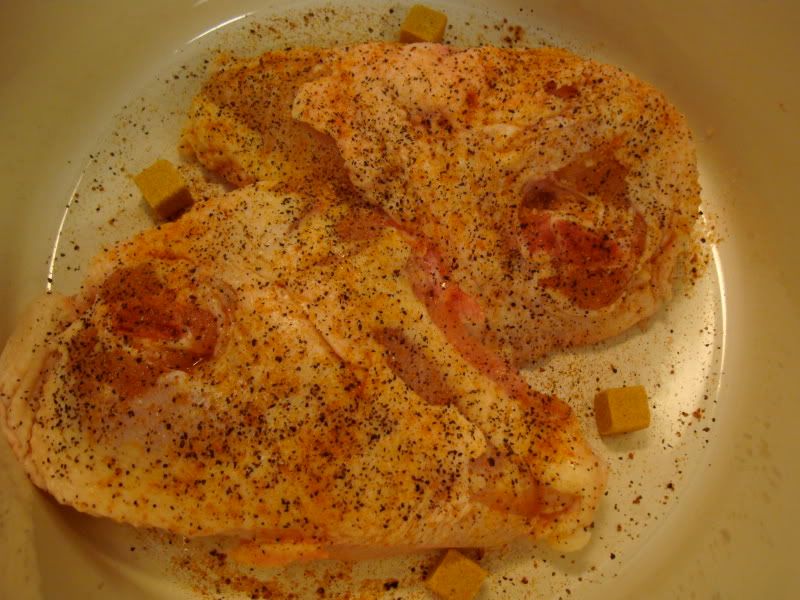
-Sprinkle the chicken breasts with salt, pepper, and rotisserie chicken seasoning. Place about 4-5 chicken bouillon cubes in the bottom of the pot as well.
Photobucket
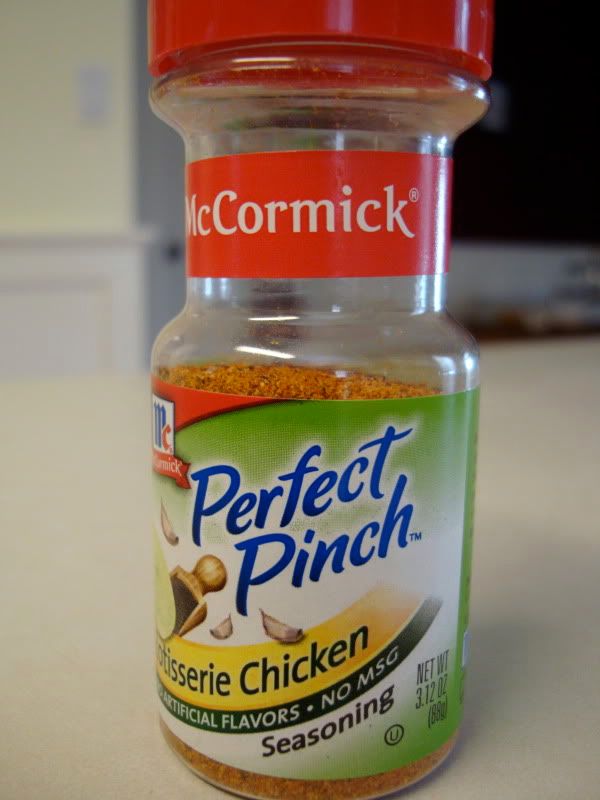
-Now, if you've never heard of rotisserie chicken seasoning, it's just a little red McCormick bottle you can find in the spice section of your local grocery store. It's got a great flavor, and I use it in several recipes. Here's a peek:
Photobucket
-Now, you're going to fill the pot with water, until the water is about 3 inches higher than the chicken.
-Add 1 stick of butter (yes, 1 stick).
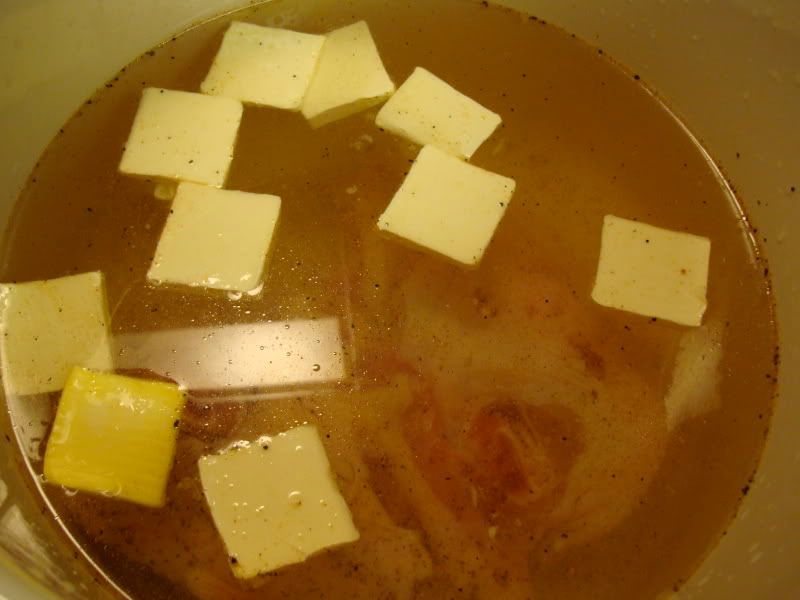
Photobucket
-Turn the burner on medium, about a 4. Leave pot uncovered.
-Then, set it, and FORGET IT! Let the chicken simmer down for as long as you can stand it. At least 2 hours. You don't believe me now, but the longer you let it simmer in the water the better it will be. You really want that chicken flavor to seep into the water. Go do your nails, take a bubble bath, color with your kids, but whatever you do, DO NOT leave the house, and go to the thrift store for two hours while accidentally setting the stove at 10, instead of 4. You'll come home to fire trucks surrounding your apartment complex. Trust me on this one. Been there, done that, and my old apartment complex still has the burnt/blackened pot on display in the office to encourage students to NEVER leave food on the stove while going shopping. True Story.
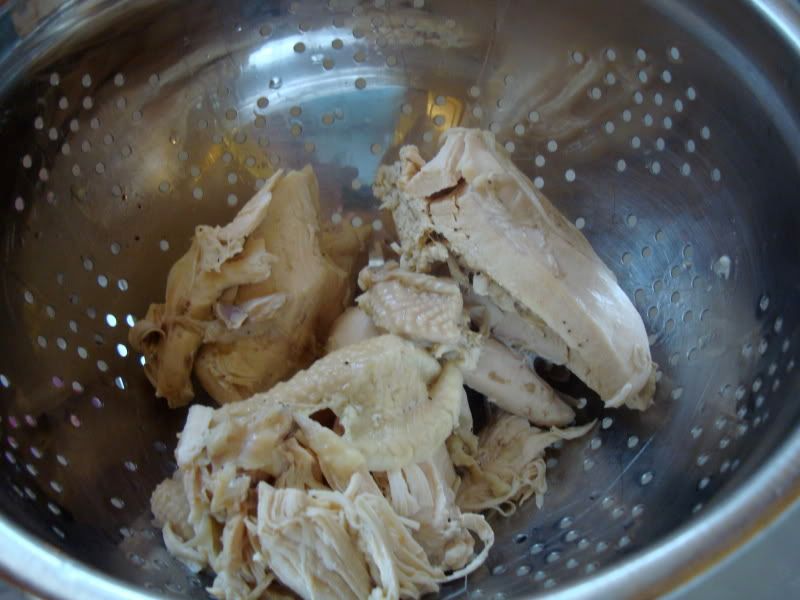
-You'll know the chicken is done when the water has evaporated down to about 1-1.5" in the bottom of the pan, and the chicken literally falls off the bones.
-Remove the chicken to a colander, and let it cool before shredding.
Photobucket
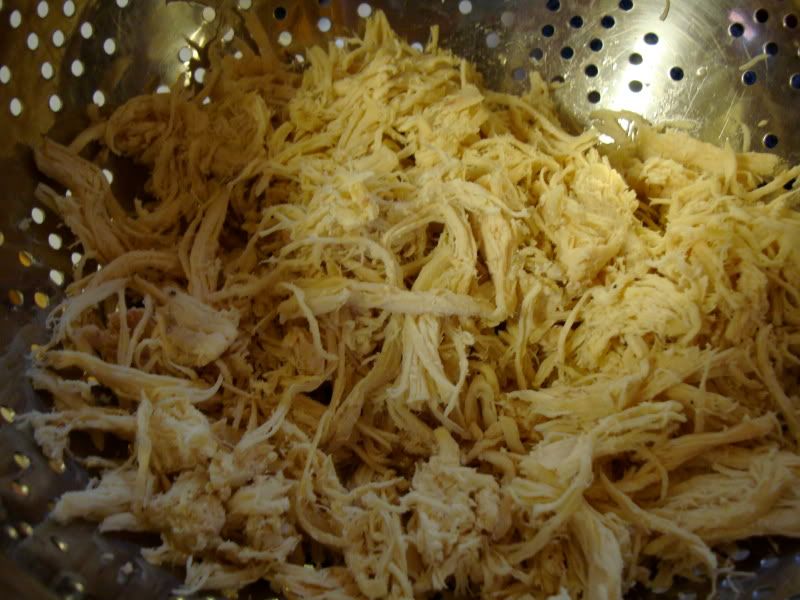
-Shred the chicken. How you do this is up to you. You can get down and dirty with it (like I do!), and use your God-given tools (your fingers!), or you can use two forks, or a fork and a knife. The method here is going to depend on the level of shredding you prefer. I happen to like mine really shredded, so my hands are the best tool for the job. If you prefer larger chunks of chicken, use two forks, and only shred until you're happy. Feel free to sneak a few tastes of the chicken along the way! Be sure that you have all of the bones out, even those sneaky little ones who try and stay put.
Photobucket
-Add your chicken back to the stock pot, with the remaining liquid, and add your chicken stock. I usually do about 2 of the big, Swanson boxes of broth, and 1 of the small stock boxes. The amount is not critical, if you use more broth, you'll add more dumplins to get it thick. If you use less broth, you'll add less dumplins. This isn't calculus here, there are no definite equations, just a pinch here, or a pinch there.
-Bring this pot up to a boil, at a little above medium heat, around 7.
-Add 1/2-1 more stick of butter to the broth.
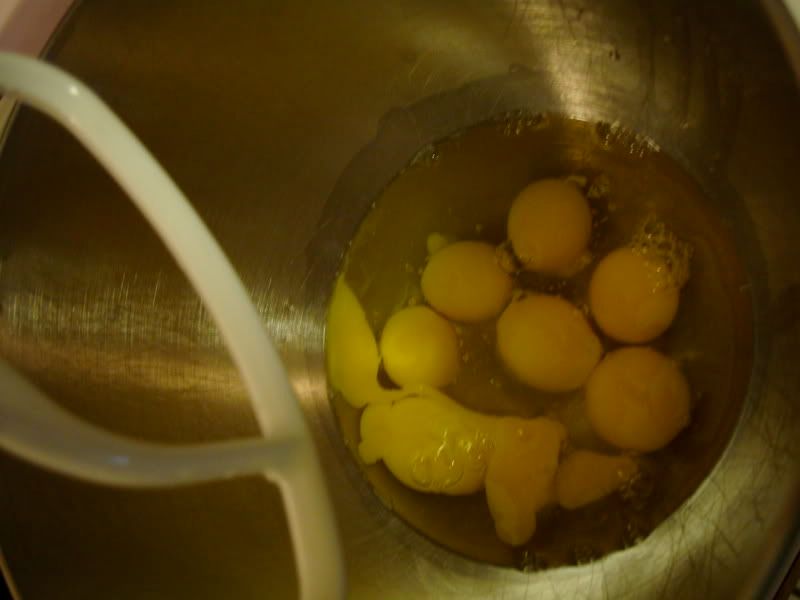
-While your stock/chicken mixture comes up to a boil, begin your dumplins. You are going to be SHOCKED at how simple these are. There are only TWO ingredients!
-Add your 8 eggs to the bowl of your stand mixture
Photobucket
-Now, you're going to add the self-rising flour. It's very important that you use self-rising flour. I don't know why, I just know that it is. Go with me here.
-Add your flour, gradually, about 1-1.5 cups at a time. Be sure you're using the dough hook on your mixer.
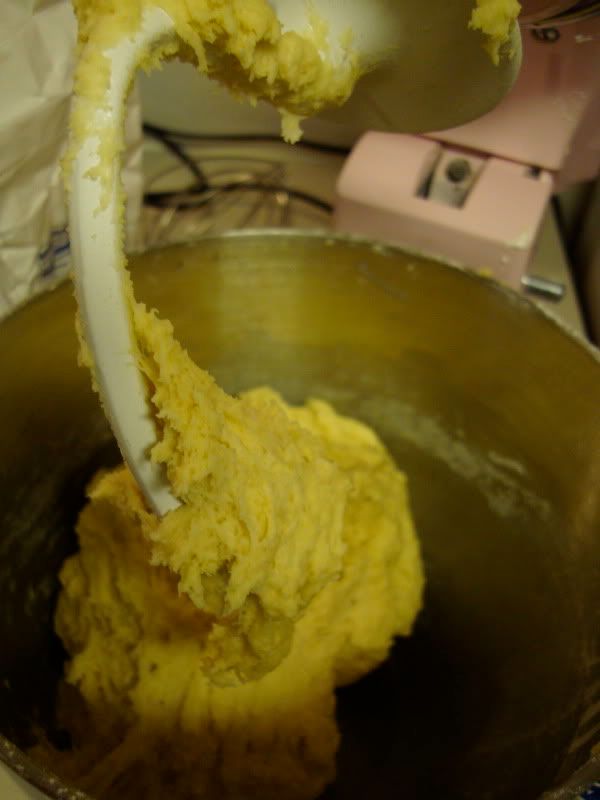
-The amount of flour is going to vary a little, and I never measure it. I go by feel. I'm guessing about 4 cups of flour is going to be sufficient, but if it's too sticky, add some more. This is a recipe that's going to take a few batches of trial and error before you master it. In the end, you want the dough to be only slightly sticky, and you want it to basically slide off the dough hook (slowly) when you raise the mixer. Like this:
Photobucket
-Now comes the fun part. And by fun, I mean messy! You're going to need to clear off a large section of countertop. If you have a silpat mat you can use it, too. I have one, but usually I don't use it for this, it's just one more thing to clean up. Sprinkle your countertop with about 1/2 cup of additional flour.
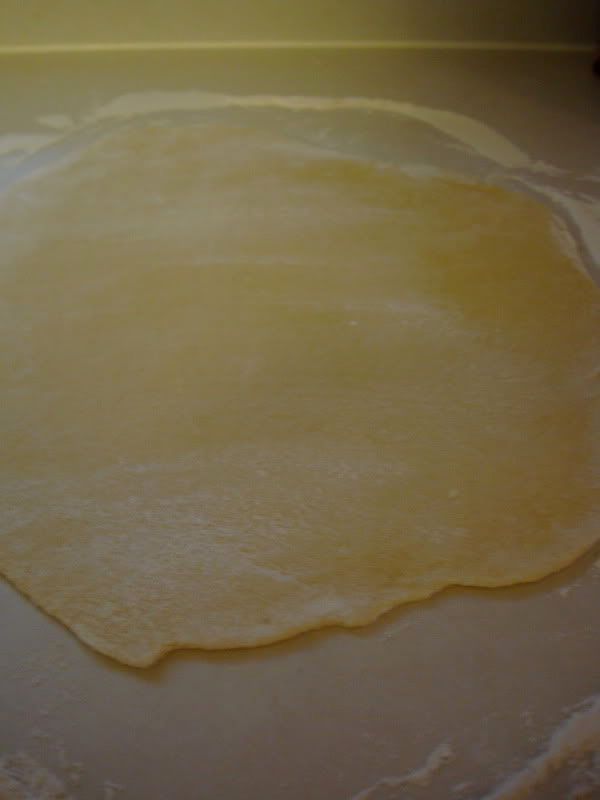
-You're going to do your dough in sections, now. So grab a section of dough, a little larger than your fist, and place it on your floured countertop. Roll it around in the flour, and begin to roll it out, using your marble rolling pin. The marble rolling pin is essential, it won't stick like wood, and the weight will make your job SO much easier. You're going to roll it out pretty thin. Maybe 1/8-1/4". Again, you're going to have to play around with trial, and error here, how you like your dumplins. I like mine a little on the thinner side, and my husband likes his a little on the thicker side, so just play with it. Be careful, though, if you roll them out too thick, they'll get "bread-y" on the inside, like biscuits, and that's not what we're going for (remember the rant about the biscuits?).
Photobucket
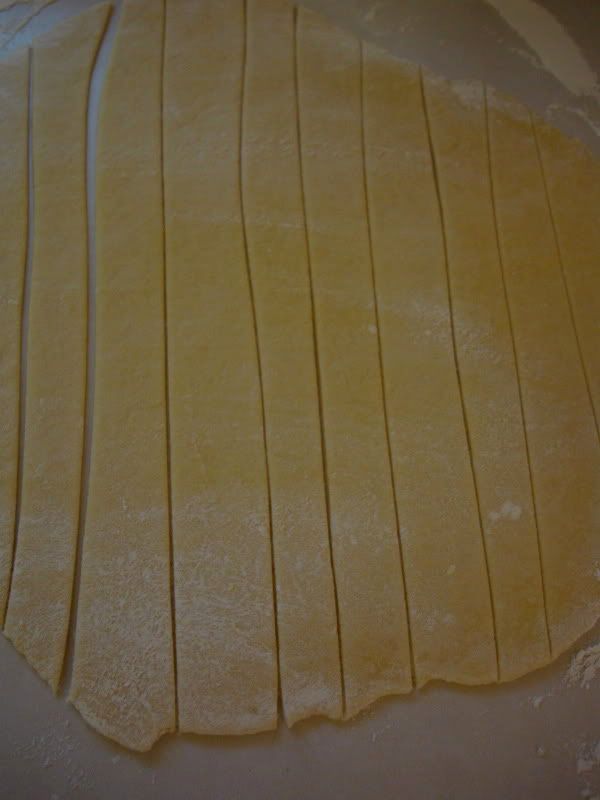
-Now, you're going to cut the dough into strips. I like to use my pizza cutter for this, because it's much faster than a knife, and it's plastic so it won't ruin my countertops.
Photobucket
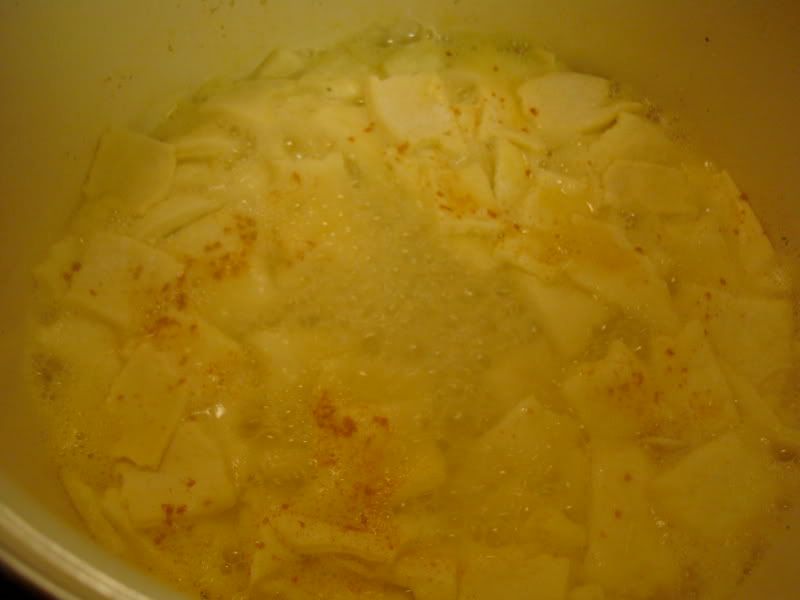
-Carry the strips of dough over to your simmering pot, and start ripping off little squares, and dropping them into the broth. You're going for about 1 inch squares here, but again, this isn't calculus, eyeball it, the irregularity makes it homey and old-fashioned, just like we love!
-As the dumplins begin to bunch up on top, you'll need to stir them as you add more, just do this gently.
-Occasionally, you're going to add a few sprinkles of paprika. I usually do a tiny bit of paprika at the end of each batch of dumplins. So, before you go back to roll out another batch, add a tiny bit of paprika. Don't go overboard here, though, this is really just a background flavor, not an in-your-face flavor.
Photobucket
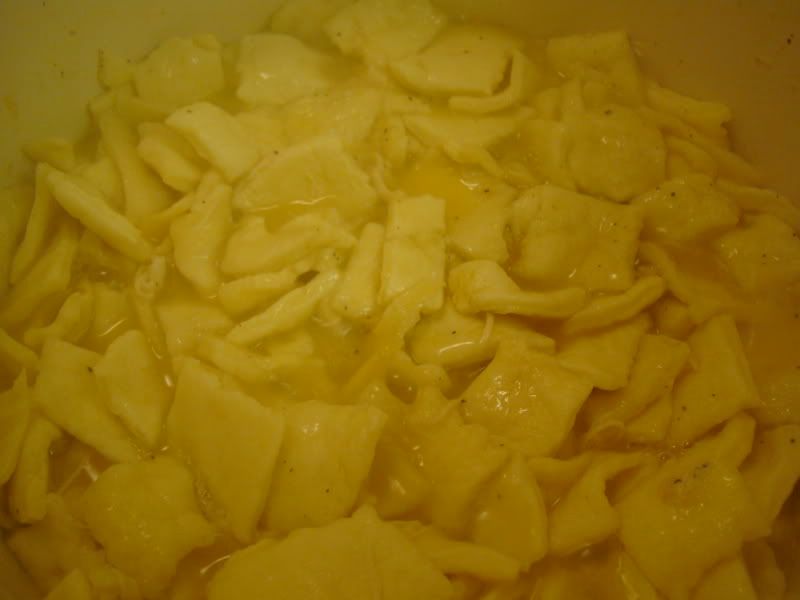
-Go back, and roll out another batch of dough, adding them to the broth, and going back for more. Do this until you're out of dough, or until you're achieved the thickness you want in your broth.
Photobucket
-Keep in mind that your broth is going to thicken as it stands, too, so don't worry too much if it's still watery, and not gravy-like, right away. The first several times I made these, my broth didn't thicken the first day, but it was PERFECT on days 2, and 3. That might be the BEST part of chicken 'n dumplins, they just get BETTER the longer they sit in your fridge.
-Stir the dumplins as needed, as you go, just be gentle about it.
-Once you've added all of your dough, stir one last time, and cover the pot, simmering on LOW (2-3) for about 10 minutes.
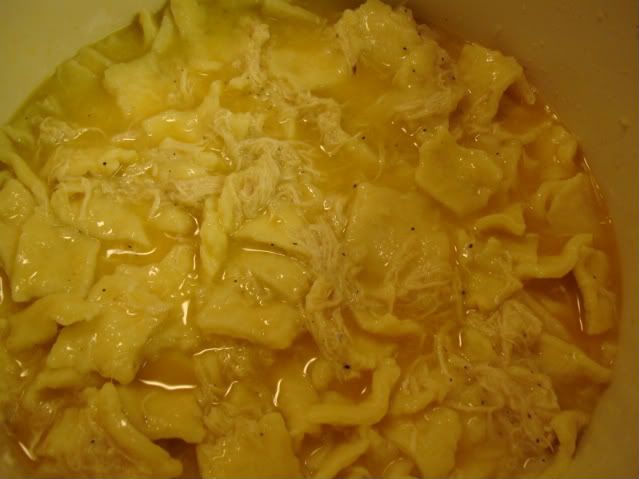
-Voila! (See how the broth has turned into this thick, rich gravy?
Photobucket
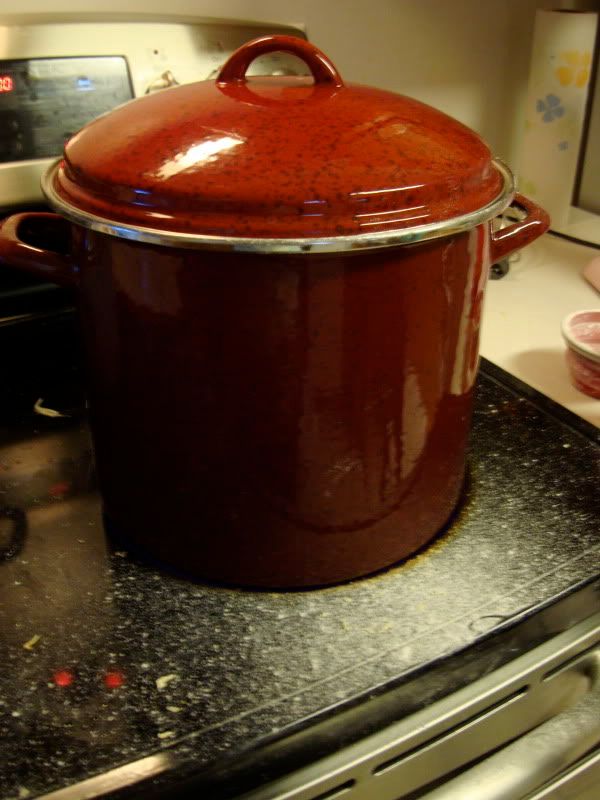
-And lest you think that I am a perfectly clean cook, I'll let you in on a little secret: I make a HUGE mess everytime I make these. But, it's totally worth it. See what Shelby looks like when I'm done?
Photobucket
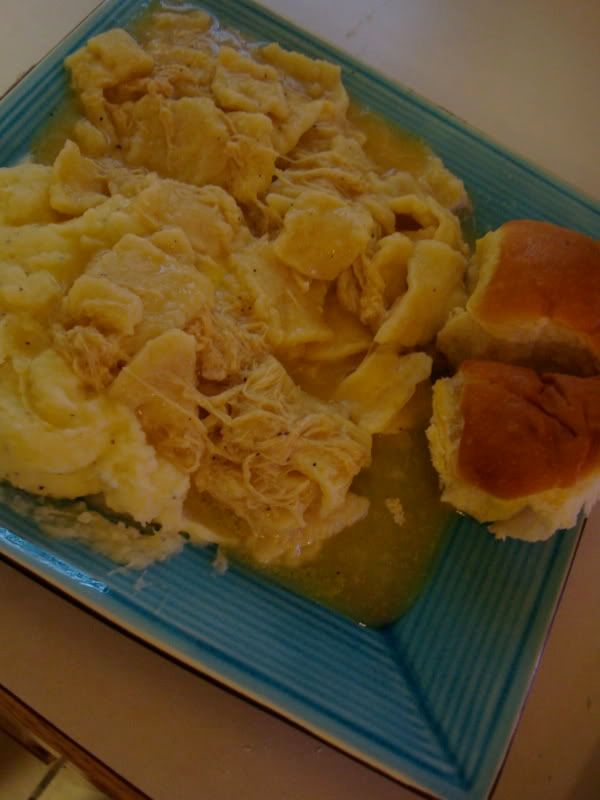
-The best way to serve this is over some hot, homemade mashed potatoes, and some bread or rolls to soak up all that delicious gravy!
YUM!!!!
Photobucket

Now, go get to work, and don't forget (in the words of one of our favorite family friends, Laura), Perfect Practice makes Perfect!

Plain Text Recipe
Chicken 'n Dumplins

Ingredients:
2-4 Chicken Breasts (bone-in, skin-on)
Water
Chicken Bouillon Cubes
Rotisserie Chicken Seasoning (optional)
Paprika
Chicken Stock/Chicken Broth
3.5-5 cups Self-Rising Flour (ISH!)
8 Eggs
Salt/Pepper to taste


-The first thing you're going to do is get your chicken going. Place your chicken breasts in the bottom of your stock pot. I like to use the same Paula Deen pot I featured in this post.
-You're going to use between 2-4 chicken breasts depending upon the size of the breasts (go ahead, giggle now), as well as how much of a chicken to dumplins ratio you would like. This time I used two breasts, and probably should have used 3.
-Sprinkle the chicken breasts with salt, pepper, and rotisserie chicken seasoning. Place about 4-5 chicken bouillon cubes in the bottom of the pot as well.
-Now, you're going to fill the pot with water, until the water is about 3 inches higher than the chicken.
-Add 1 stick of butter (yes, 1 stick).
-Turn the burner on medium, about a 4. Leave pot uncovered.
-Then, set it, and FORGET IT! Let the chicken simmer down for as long as you can stand it. At least 2 hours. You don't believe me now, but the longer you let it simmer in the water the better it will be. You really want that chicken flavor to seep into the water. Go do your nails, take a bubble bath, color with your kids, but whatever you do, DO NOT leave the house, and go to the thrift store for two hours while accidentally setting the stove at 10, instead of 4. You'll come home to fire trucks surrounding your apartment complex. Trust me on this one. Been there, done that, and my old apartment complex still has the burnt/blackened pot on display in the office to encourage students to NEVER leave food on the stove while going shopping. True Story.
-You'll know the chicken is done when the water has evaporated down to about 1-1.5" in the bottom of the pan, and the chicken literally falls off the bones.
-Remove the chicken to a colander, and let it cool before shredding.
-Shred the chicken. How you do this is up to you. You can get down and dirty with it (like I do!), and use your God-given tools (your fingers!), or you can use two forks, or a fork and a knife. The method here is going to depend on the level of shredding you prefer. I happen to like mine really shredded, so my hands are the best tool for the job. If you prefer larger chunks of chicken, use two forks, and only shred until you're happy. Feel free to sneak a few tastes of the chicken along the way! Be sure that you have all of the bones out, even those sneaky little ones who try and stay put.
-Add your chicken back to the stock pot, with the remaining liquid, and add your chicken stock. I usually do about 2 of the big, Swanson boxes of broth, and 1 of the small stock boxes. The amount is not critical, if you use more broth, you'll add more dumplins to get it thick. If you use less broth, you'll add less dumplins. This isn't calculus here, there are no definite equations, just a pinch here, or a pinch there.
-Bring this pot up to a boil, at a little above medium heat, around 7.
-Add 1/2-1 more stick of butter to the broth.
-While your stock/chicken mixture comes up to a boil, begin your dumplins. You are going to be SHOCKED at how simple these are. There are only TWO ingredients!
-Add your 8 eggs to the bowl of your stand mixture
-Now, you're going to add the self-rising flour. It's very important that you use self-rising flour. I don't know why, I just know that it is. Go with me here.
-Add your flour, gradually, about 1-1.5 cups at a time. Be sure you're using the dough hook on your mixer.
-The amount of flour is going to vary a little, and I never measure it. I go by feel. I'm guessing about 4 cups of flour is going to be sufficient, but if it's too sticky, add some more. This is a recipe that's going to take a few batches of trial and error before you master it. In the end, you want the dough to be only slightly sticky, and you want it to basically slide off the dough hook (slowly) when you raise the mixer.
--Now comes the fun part. And by fun, I mean messy! You're going to need to clear off a large section of countertop. If you have a silpat mat you can use it, too. I have one, but usually I don't use it for this, it's just one more thing to clean up. Sprinkle your countertop with about 1/2 cup of additional flour.
-You're going to do your dough in sections, now. So grab a section of dough, a little larger than your fist, and place it on your floured countertop. Roll it around in the flour, and begin to roll it out, using your marble rolling pin. The marble rolling pin is essential, it won't stick like wood, and the weight will make your job SO much easier. You're going to roll it out pretty thin. Maybe 1/8-1/4". Again, you're going to have to play around with trial, and error here, how you like your dumplins. I like mine a little on the thinner side, and my husband likes his a little on the thicker side, so just play with it. Be careful, though, if you roll them out too thick, they'll get "bread-y" on the inside, like biscuits, and that's not what we're going for (remember the rant about the biscuits?).
-Now, you're going to cut the dough into strips. I like to use my pizza cutter for this, because it's much faster than a knife, and it's plastic so it won't ruin my countertops.
-Carry the strips of dough over to your simmering pot, and start ripping off little squares, and dropping them into the broth. You're going for about 1 inch squares here, but again, this isn't calculus, eyeball it, the irregularity makes it homey and old-fashioned, just like we love!
-As the dumplins begin to bunch up on top, you'll need to stir them as you add more, just do this gently.
-Occasionally, you're going to add a few sprinkles of paprika. I usually do a tiny bit of paprika at the end of each batch of dumplins. So, before you go back to roll out another batch, add a tiny bit of paprika. Don't go overboard here, though, this is really just a background flavor, not an in-your-face flavor.
-Go back, and roll out another batch of dough, adding them to the broth, and going back for more. Do this until you're out of dough, or until you're achieved the thickness you want in your broth.
-Keep in mind that your broth is going to thicken as it stands, too, so don't worry too much if it's still watery, and not gravy-like, right away. The first several times I made these, my broth didn't thicken the first day, but it was PERFECT on days 2, and 3. That might be the BEST part of chicken 'n dumplins, they just get BETTER the longer they sit in your fridge.
-Stir the dumplins as needed, as you go, just be gentle about it.
-Once you've added all of your dough, stir one last time, and cover the pot, simmering on LOW (2-3) for about 10 minutes.
-Voila!

Sunday, July 11, 2010

Eat out at home: Chicken Alfredo, and Macaroni Grill Rosemary Bread

Photobucket


I know, the title of this thread is a bit of an oxymoron. How can one eat out, at home? I'm here to tell you that you can enjoy food that is delicious, and just as good as your favorite chain restaurant right in your own kitchen, and without a significant amount of fuss, either.

These ideas were born of The Husband and I's affinity for eating out, and our bank statement's aversion to it. Adding it all up one month, we were simply shocked to find out how much money we were spending on eating out. Now don't get me wrong, a nice dinner date, with your loved one is an absolute must in my book, but we were eating out (with the kids in tow) at least 3-4 times per week, adding up to a staggering $500-$600 per month. Ouch, right? So, I decided to find a way to enjoy some of our favorite restaurant meals, at home, and the amount of money we're saving is insane!

The first recipe that we've pretty much perfected was a weekly staple in our house prior to the big switch; macaroni grill chicken alfredo, along with their absolutely to die for rosemary bread.

The sauce recipe is actually the first recipe that I got from one of my in-laws, back when my husband and I were still engaged. We went up to Idaho to visit The Husband's brother, Dayne, and his wife, Sarah made us some alfredo sauce that rivaled any restaurant. This is no easy task, as I've tried just about every brand of jarred alfredo sauce on the store shelves, and found them to be downright disgusting. I won't even use them in a pinch. So, a big thank you to Sarah, for jump-starting this recipe!  Sarah is also famous, in The Family, for her salsa, and italian bread recipes!

Photobucket

Now, I do have to apologize in advance that I don't have any "finished product" photos of the delicious rosemary bread. I decided to set the bowl outside to rise, since it was nice and warm, and forgot all about it for several hours. The wind blew off the towel, and I was left with a crusty, nasty mess. So, I couldn't actually bake it. What can I say, we all make mistakes! But, take my word for it, this bread is delicious, and it goes so perfectly with the chicken alfredo that I just didn't want to skip it until I had time to make it again. Now, I used to be VERY intimidating by bread making. All those artisan loaves just struck fear into me, and visions of sore arms after hours of kneading. But this bread could not be more simple. Easy to make in either your Kitchen-Aid, Bosch, or other electric mixer, meaning NO HAND KNEADING. Easy=beautiful for me!

And, for a bit of housekeeping, I realized that it would be very difficult for the readers of this blog to print out the recipes, due to the large amount of photos on each post. As it stands right now, I have no clue how to increase the print functionality of this website. But, I promise to learn, and have a better solution for the future. Until then, please bear with me! I may just include a text-only version of each recipe below the photo-laden part until I come up with a more permanent solution.


Chicken Alfredo

Hallelujahs: Delicious, and much cheaper than eating out, easy to make
Hellfires: Honestly, not many. It does take about 45 minutes-1 hour, which is sort of time consuming, but well worth the wait!


1 lb of boneless skinless chicken breasts/tenderloins
1/4-1/2 cup Kraft Tuscan House Italian Salad Dressing
Italian Seasoning, Garlic Powder, Salt, Pepper, and Onion Powder to taste
1 pint of heavy cream, or half & half
1 stick of butter
2 tablespoons of cream cheese (1 oz) 2-4 tsp garlic powder
A Pinch or Two of Parsley flakes (dried or fresh)
Salt, Pepper to Taste
1/2-3/4 cup Parmesan Cheese (NOT the stuff in the green canister)


-Boil a large pot of water/salt for your pasta. I usually prefer bowtie (farfalle for you high fallutin' types) noodles for this recipe, but I didn't have any, and I had a bunch of egg noodles, which worked just fine.
-Cook pasta according to package directions.
-Meanwhile, cut your chicken tenderloins/breasts into small pieces. I just use the frozen bag of chicken tenderloins from Costco, because they are cheap, and work just fine for this. Plus, I always have plenty of them on hand.
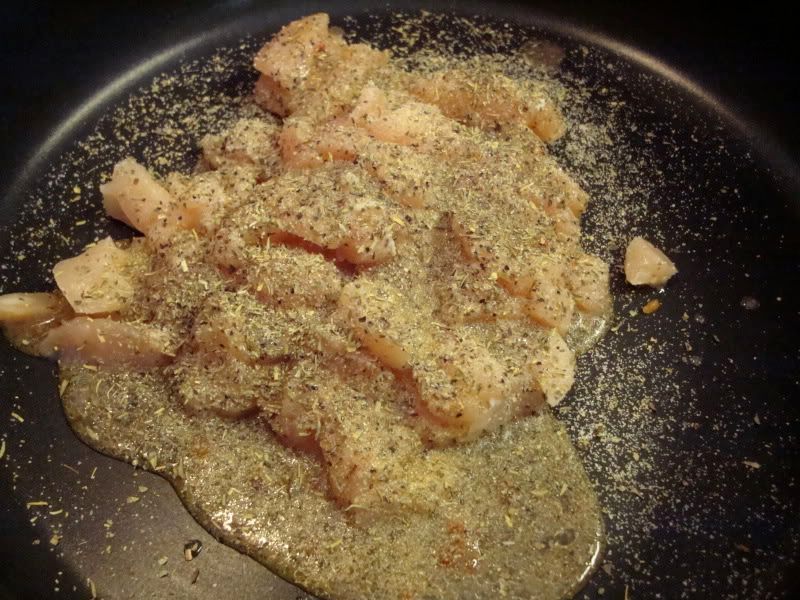
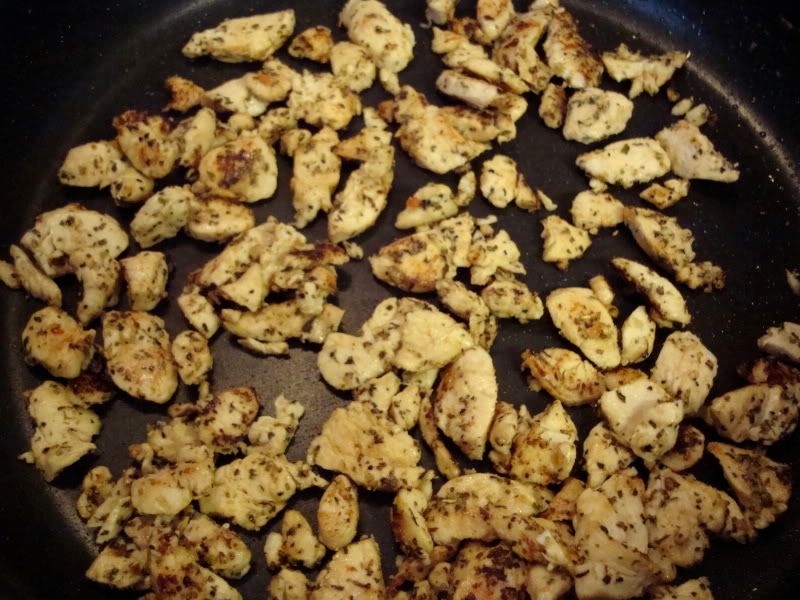
-Add them to your deep frying pan, along with the salad dressing, and seasonings. Stir it around, to get everything well incorporated, and turn burner on med-high. Cover, and begin sauce.
Photobucket
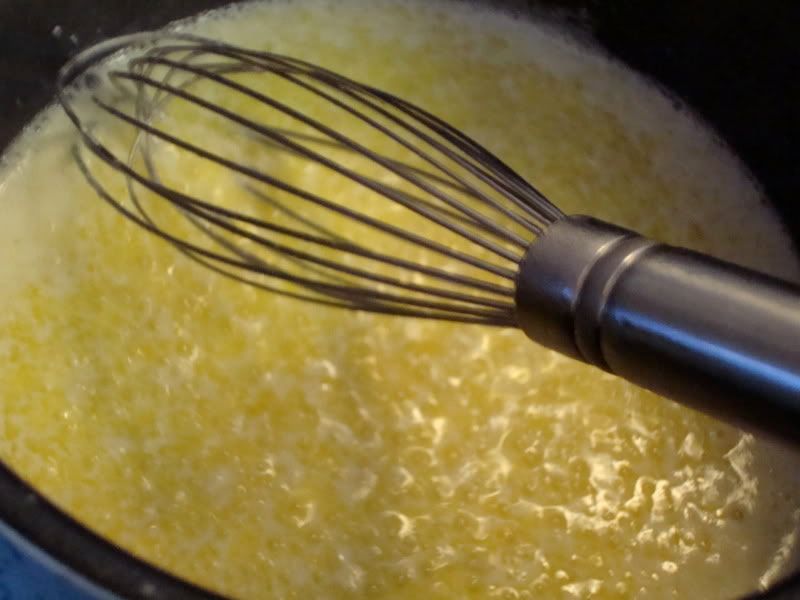
-In a medium sized saucepan, combine butter, and cream cheese, and melt over low-medium heat, whisking occasionally.
Photobucket
-Once they melt together, whisk in the heavy cream, or half and half.
-Note, I am usually skeptical about using anything but heavy cream in recipes. I mean, lower calories are great, and all, but if it also equals lower taste, then it's just not worth it to me. But, in this case, I happened to have a bunch of half & half left over from a cake recipe, and it tasted every bit as good as with the heavy cream. So feel free to use whatever you have on hand. Except for milk, that would be too thin for my liking.
Photobucket
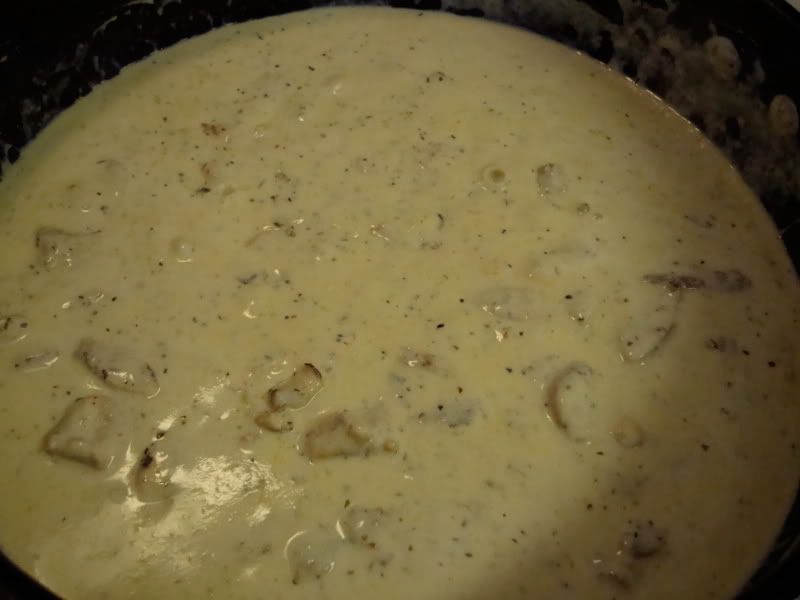
-Reduce heat to low, and simmer the sauce for about 10 minutes or so. It's really important here to cook this on low. If you heat it too high, the emulsification will "break," and your butter will separate from the half & half.
-Add the garlic powder (we LOVE garlic, so I add a LOT), salt, and pepper, and allow to cook for another 5 minutes on low heat.
-I usually add a couple of pinches of parsley here, too, but I forgot to throw it in there in these photos. If you don't have it, don't sweat it.
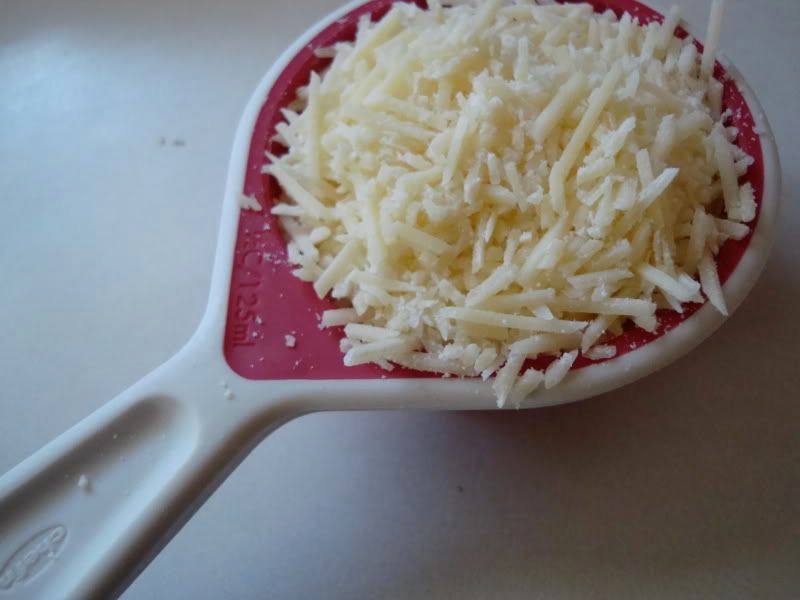
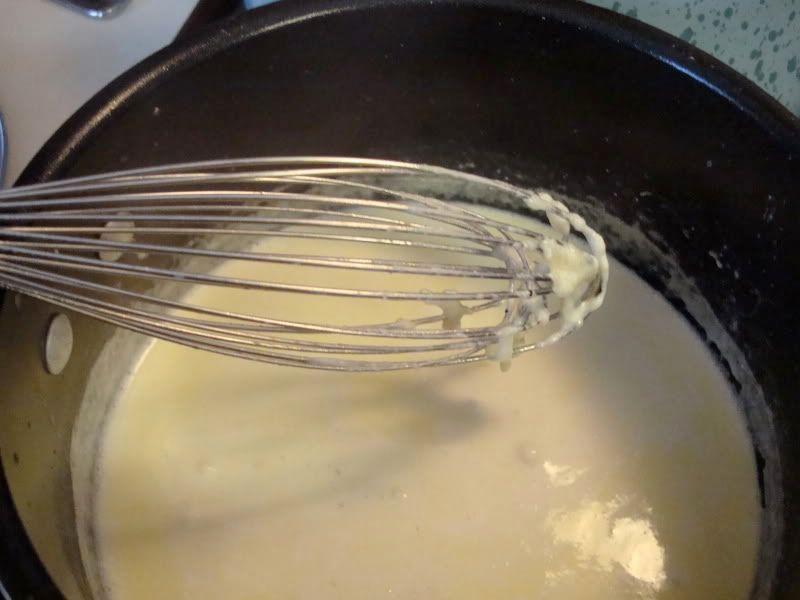
-Add your parmesan cheese. Please, use shredded parmesan cheese, either fresh or from the bag, but whatever you do, do not use the grated stuff in the green canister. It lends a very grainy texture to the sauce, which is not pleasing. Start with 1/2 cup, and taste the sauce, before adding all 3/4 cup. Just keep adding until you get the texture/taste you prefer. You'll need to whisk vigorously to get it all to combine.

Photobucket

Photobucket

-Meanwhile, when your chicken is cooked through, remove the lid, and begin to brown it, getting some nice color on all sides. I actually prefer NOT to use a non-stick pan for this part, so that you get all kinds of nice, brown bits on the bottom of the pan for the sauce to pick up. The non-stick pan I used here did not lend itself to those little lovelies, and I missed them!

Photobucket

-Pour the sauce into your pan with the chicken, and stir, over low/medium heat, scraping up all the brown bits on the bottom of your pan. This should change the color of your sauce, to a deeper blond-like color.

Photobucket

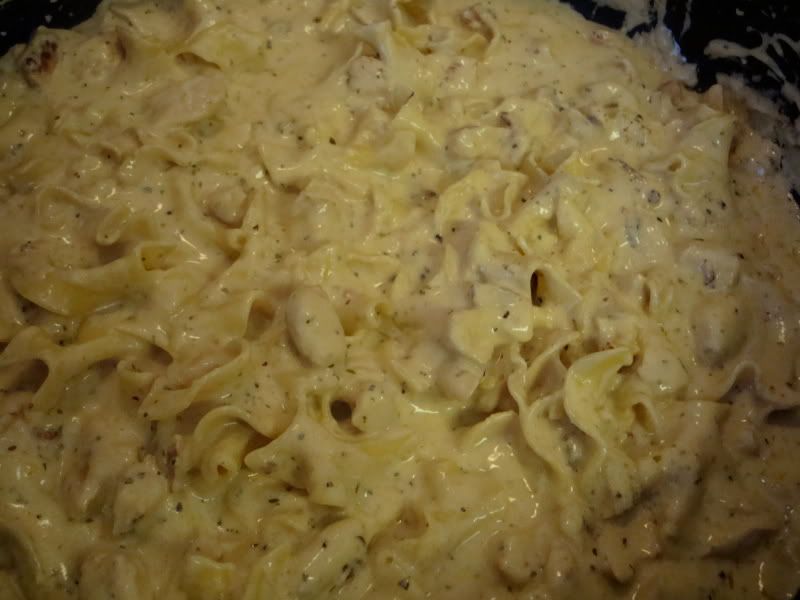
-After draining your pasta, add it to the sauce/chicken mixture, and stir until all noodles are combined.

Photobucket


Macaroni Grill Rosemary Bread

Hallelujahs: Delicious, and about as close to the real thing as you can get, REALLY simple, and hard to mess up!
Hellfires: Time consuming (you have to wait for it to rise), and it doesn't really store well. I tried to double the recipe, and save the extra loaves in Ziploc bags once, and they just got soggy, so you really need to eat them the day you make them.

1 tablespoon yeast
1 tablespoon sugar
1 cup warm water
2 1/2 cups bread flour
1 tsp salt
2 tablespoons rosemary
2 tablespoons butter


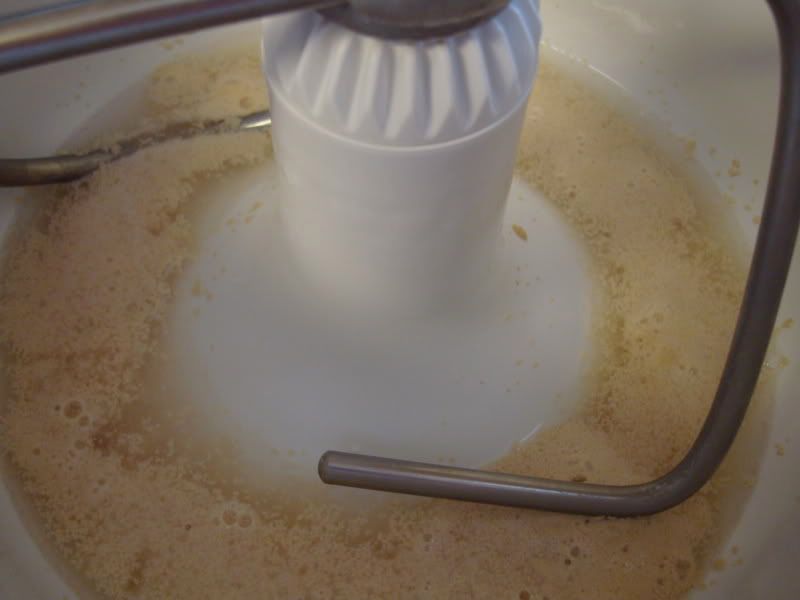
-Place your water, sugar, and yeast in your mixer bowl, and allow to proof (just let it sit there!) for 5-10 minutes until it's all foamy, and bubbly like so:

-And for a random, FYI, the science, and chemistry of how yeast ferments/respires is actually pretty fascinating. It's actually a living organism you're putting into your bread, and then killing when you bake it! The "holes" in your bread are actually the spaces where the yeast used to reside, fermenting the sugars, and creating Carbon Dioxide (bubbles). If you ever have time, look it up, it's pretty cool!

Photobucket

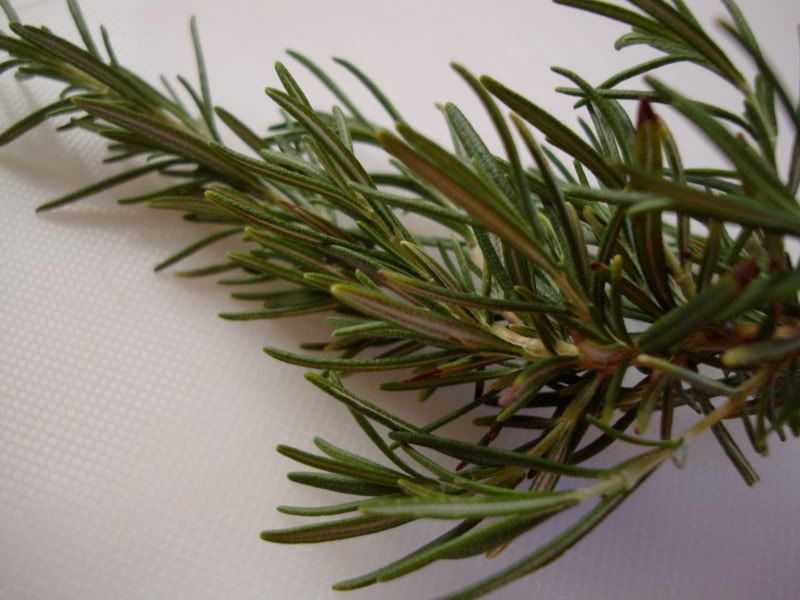
-After the yeast has gotten nice, and foamy, add your butter, flour, and rosemary. I used fresh rosemary this time, because I had a TON of it in my garden. It smelled DIVINE! But, dried rosemary works well here, too.

Rosemary (kind of looks, and smells, like a fresh Christmas tree, don't you think?)

Photobucket

Photobucket

-Turn on your kitchen appliance, and allow it to come together until it is smooth, and elastic. In my Bosch, at high speed, this takes about 4-5 minutes. It is going to be a very sticky bread. If it's too sticky, add some flour, but the less flour you use, the better the bread will be.

The Bosch in action:


-Once the dough has been sufficiently kneaded, place into oiled bowl, cover with plastic wrap (this works better for me than a towel), and set in warm, dry place to rise.
-Allow it to rise until it has doubled in size, about 1.5 hours.
-Preheat oven to 375*
-Once it has risen, punch it down, which means exactly what it says. Ball up your fist, pull it back, and take out all your frustrations on that poor little loaf of bread.
-Separate into two halves, and shape into balls.
-Add some additional rosemary on the top of each loaf, and press it lightly into the dough.
-Place on greased baking sheet, and allow to rise for an additional 45 minutes.
-Bake for 15-20 minutes until nice, and golden brown on top.
-As soon as you take it out of the oven, smear it with butter, and sprinkle with coarse Kosher salt.
-Eat immediately, dipping into alfredo sauce, Yum!

Original bread recipe can be found at: http://www.recipezaar.com/recipe/Romanos-Macaroni-Grill-Rosemary-Bread-64446

Tuesday, July 6, 2010

Brotherly Love, Bayou Basil Chicken, and Roasted Rosemary Corn!

Well, I wanted to name this post, and recipe, "Brotherly Love, and Bayou Bourbon Butter Basil Chicken," but I thought that would be just WAY too much alliteration for one post! Seriously, you just try saying "Bayou Bourbon Butter Basil," 5 times fast, I dare ya!

Anyway, now that my grammatical fun is over, I'm going let you in on a family secret...Okay two. But not the secret family recipes for Biscuits & Gravy, or fried chicken. At least not yet. We only just met, let's get to know each other a little better, and then I might be so inclined to share those top secret recipes...Okay, actually I am planning on sharing those here, I just haven't made them this week, and taken any pictures of them!
But, these two secrets are even BETTER! They are my not so little brother, and his amazing girlfriend, Shannon.

Photobucket


If you happened to grow up in Chardon, and knew us, you might be surprised to know that my awesome little brother, Chuck (who will always be Chucky to me!), is an absolutely AMAZING cook! Seriously, if he opened a restaurant, I would definitely eat there night and day. Actually, I'd probably beg him to have mercy on me, and hire me, so I didn't go broke eating there every day! Some of my favorite of his specialties are his homemade potato chips, monstrous steaks, and these amazing little ditties, a tribute to a foregone era, homemade french waffles:

Photobucket

Yum, right? And what might surprise you even more, if you knew us growing up, is that there's a good chance he might actually hire me at his hypothetical restaurant, because for all the fighting we did growing up, we're pretty danged close now (dare I say, 'tight,' even...okay, maybe I'm still not cool enough to say tight after all). And adding to his awesomeness, would be his PHENOMENAL choice of girlfriend, Shannon! She is really a part of the family. And she's ALSO a great cook! Among her best offerings are "Uncle Chucky Potatoes," which are actually from Shannon's Grandma Yokum (long story), and the honey dijon chicken I'm going to be making later this week.

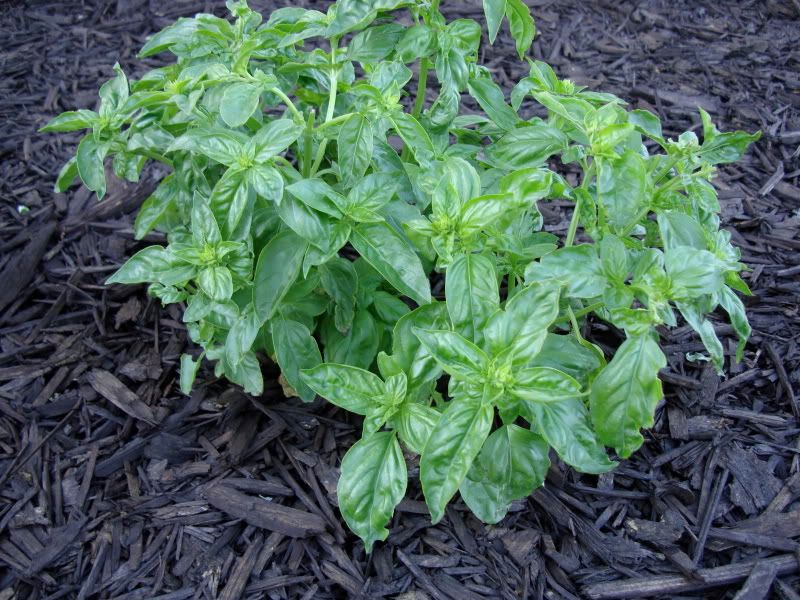
Today's recipe, however, is probably the BEST of Chuck's recipes that I've tried yet! And how could it not be, when it involves fresh mozzarella cheese, and fresh basil from my garden? And here it is, photographic proof that I can actually grow something without killing it:

Photobucket

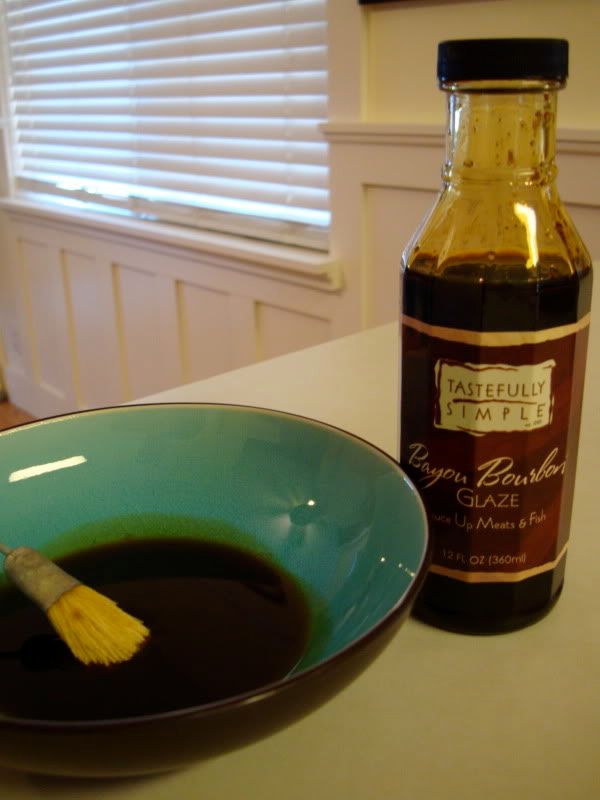
We made this recipe with a Tastefully Simple sauce, called "Bayou Bourbon Glaze." This was my first time using a Tastefully Simple product, and I must admit, I was skeptical in ordering a sauce that cost $9 per bottle. But, my brother's previously mentioned amazing girlfriend was hosting a party, and I really wanted her to get some hostess incentives. What can I say, I'm willing to go to extreme measures for family! And, I must admit, after using the sauce on this chicken, the cost is more than justified. It's delicious. And now, I can't wait to use the Pomegranate Chipotle Sauce, the Smokey Bacon grilling sauce, and the Beer bread I also ordered from her party (told you I go to extreme measures for family!). I'll be sure to feature them here, when I do.

Photobucket

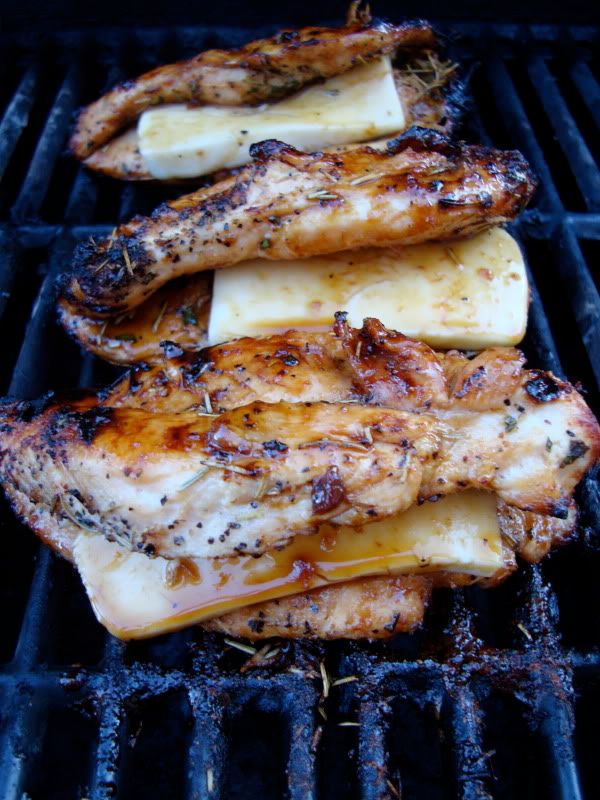
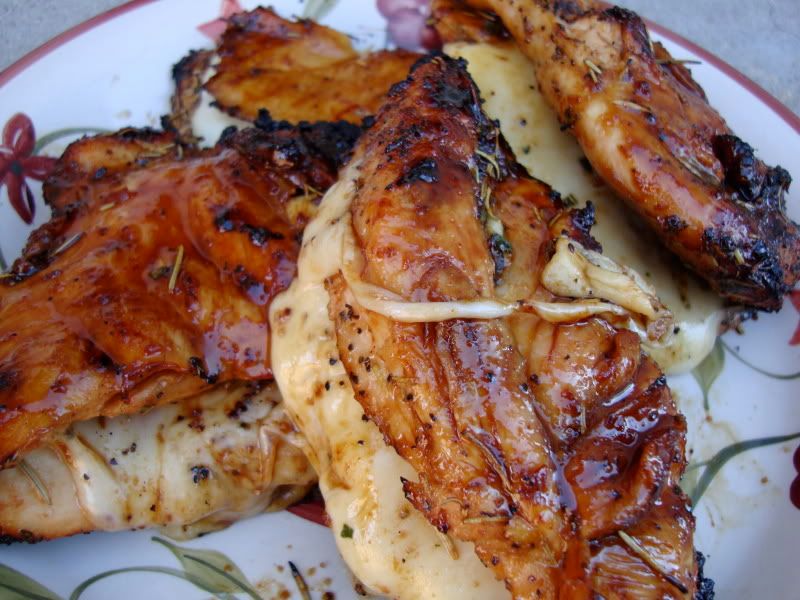
And in case, like me, you must be enticed to read the recipe, by a GORGEOUS final product photo, I'll go ahead, and give you one, now...or at least an ALMOST final product:

Photobucket

Hallelujahs: DELICIOUS, seriously, probably the BEST barbecue chicken I've ever had! Easy to customize (next time I think I'll add sun-dried tomatoes in with the fresh mozzerella), a great way to use all the extra basil in the garden
Hellfires: Honestly, I can't think of any. I was going to say that it used a sauce that cost $9 per bottle, but then I tasted the sauce, and realized it was worth EVERY PENNY! Plus, you could easily make this with any of your favorite sauces, and/or marinades, or with none at all.
Bayou Basil Chicken

4 boneless, skinless chicken breasts
1 lemon
Salt
Pepper
Garlic Powder
Rosemary (fresh or dried)
1 stick of melted butter
Fresh Basil
Fresh Mozzarella
Choice of Marinade/Glaze


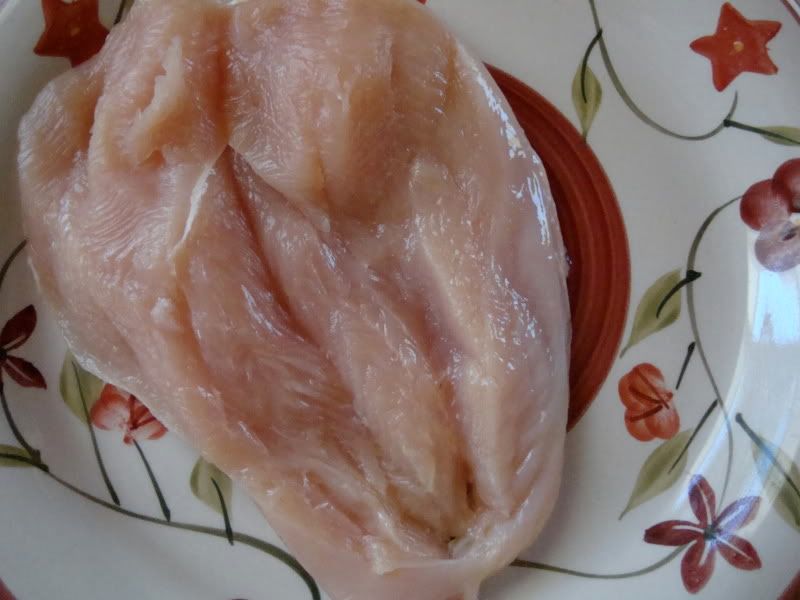
-First, take your chicken, and a sharp knife, and butterfly it.
-This is a fancy way of saying cut it in half, through the middle, so that it opens like a book:
Photobucket
-Next, season your chicken, inside, and out, and on all sides with salt, pepper, garlic powder, and rosemary. I used dried rosemary here, but I'm not sure why considering I have a ton of it in my garden.
Photobucket
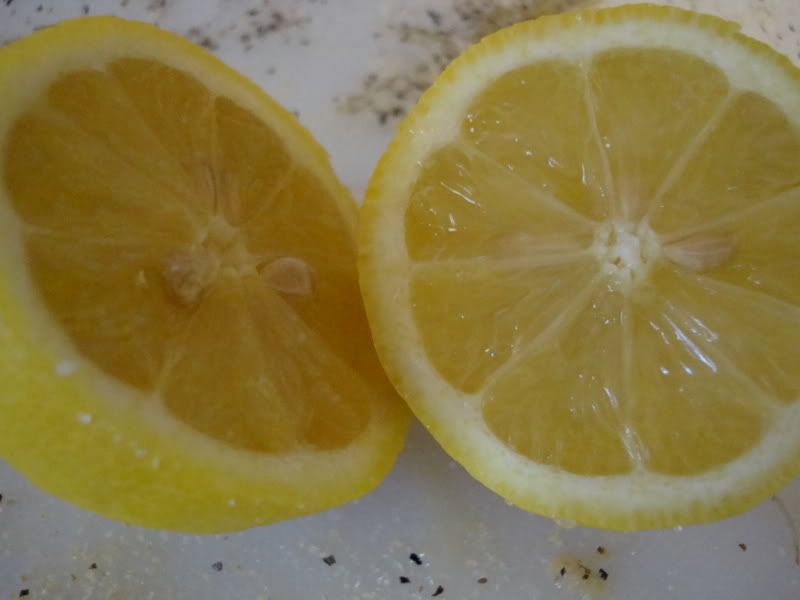
-Place seasoned chicken breasts in a bowl, and squeeze the juice of one lemon over them.
-Note, I used one lemon this time, but I think next time I will actually use 2-3. Experiment with the amount of lemon juice based on your own taste.

Photobucket

-Pour the melted butter over the chicken, cover with plastic wrap and marinate for one hour.
-My wise brother says it's important to not marinate the chicken for more than one hour, because the lemon juice will "do weird things to the chicken." Don't question the wisdom, just obey!

Photobucket

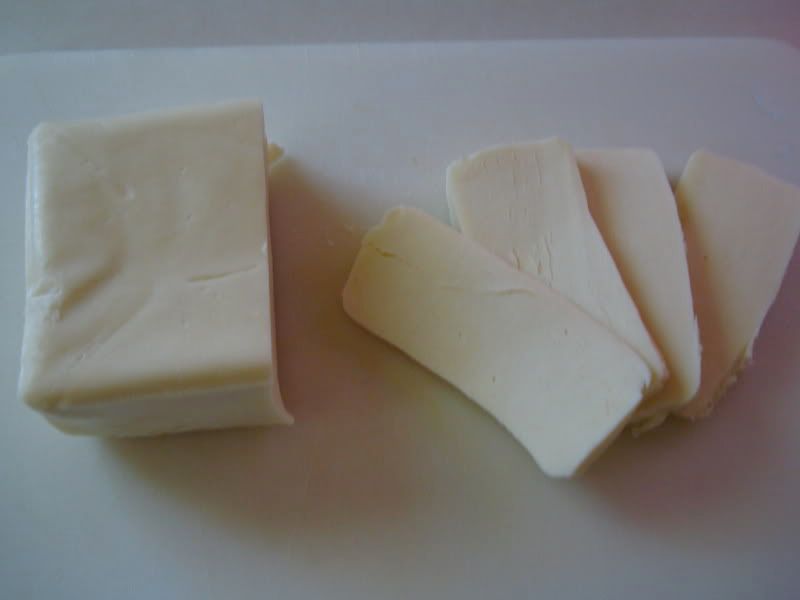
-While the chicken is marinating, take the time to slice 4 rectangles of your fresh mozzarella cheese, like so:

Photobucket

-After marinating the chicken, open each "pocket," and add your fresh basil. Some people like to leave the basil leaves whole, but I'm picky, and weird, and have a thing about biting into a whole leaf, so I choped mine up really fine, like so:

Photobucket

Photobucket

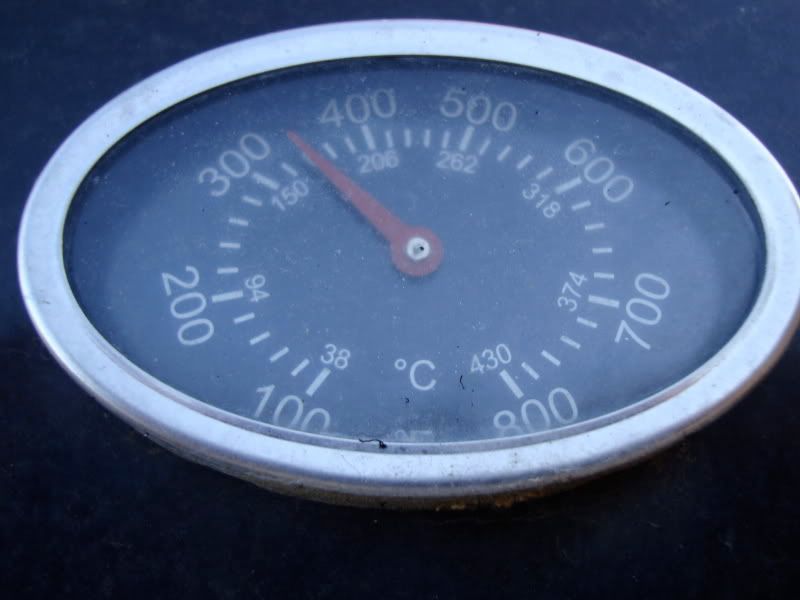
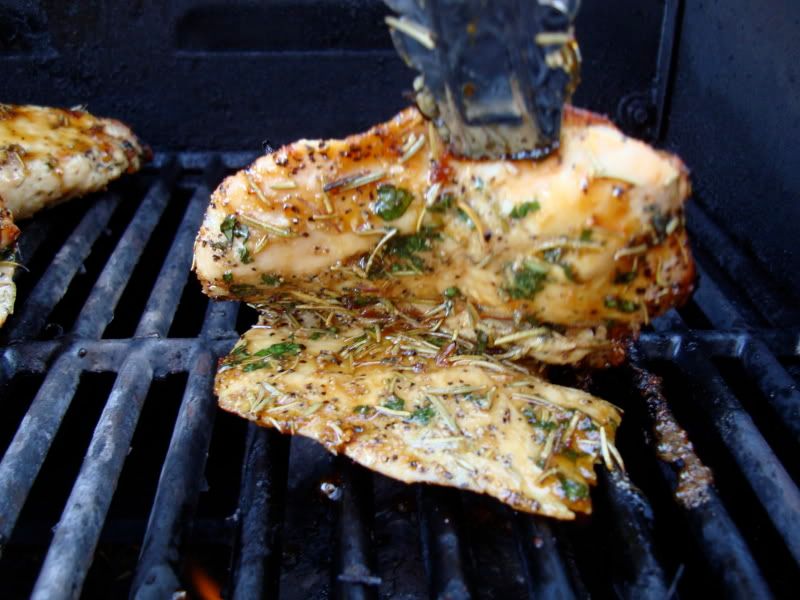
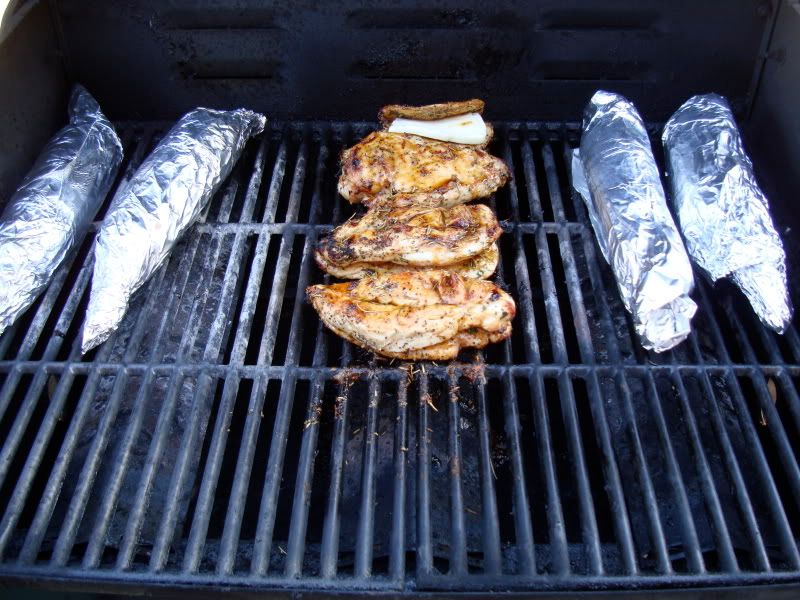
-Place chicken on grill (or delegate this task to your amazing grillmaster, The Husband, like I did!), and grill at about 350* on both sides until chicken is almost done.


Photobucket
Photobucket

Isn't my grillmaster handsome?
Photobucket

-When the chicken has about 10 minutes left, begin basting chicken with the Bayou Bourbon Glaze, or any of your other favorite marinades.
-You could also skip this step, if you don't love saucy chicken.
Photobucket

-The inside of your chicken will look all beautiful, and basil-y, just like this:
Photobucket

-When the glaze has been applied at least once to each side, and the chicken has approximately 5 minutes remaining, place your fresh mozzarella slices in the pocket of your chicken, and close the lid on your grill, allowing it to melt.
Photobucket
Photobucket

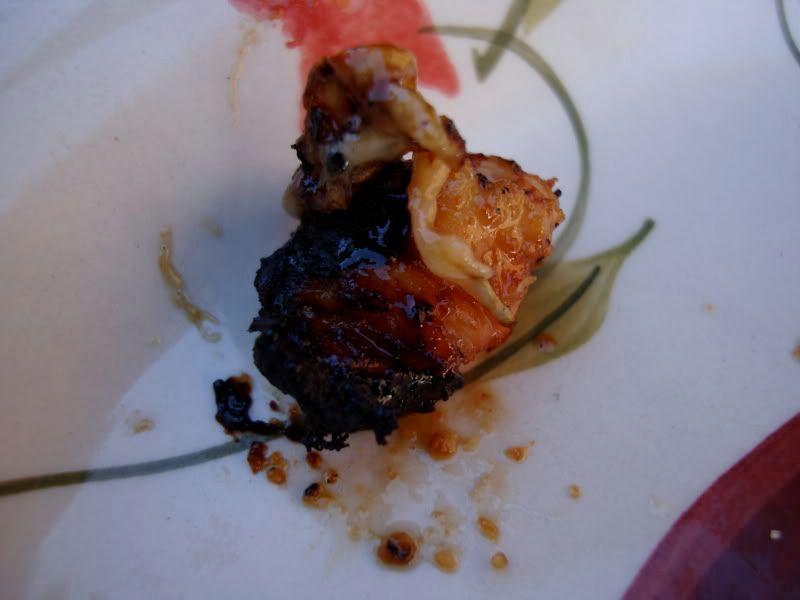
-And if, in the process, any of these lovely morsels should get stuck to the grill, and fall onto your plate, sneak in a taste...I won't tell, and I promise you won't be disappointed.

Photobucket

-Once the cheese has melted, remove chicken to a plate, and eat immediately!
Photobucket

And now, for the PERFECT side dish to this amazing chicken, Roasted Corn on the Cob, which my incredibly talented brother, and his beautiful girlfriend also taught us how to do! For a twist, this time, I added some fresh rosemary to the tin-foil packet, and it infused just a tiny hint of rosemary to the corn. Which is how I like it, I don't like to molest my corn too much, there's not much one can do to improve on the simple goodness of ripe, delicious, sweet corn on the cob. If, however, you prefer a stronger rosemary flavor, just add more rosemary to the tinfoil. And, if you don't prefer rosemary at all, leave it out entirely! This could also be done with dried rosemary, I'm sure.

If you've always made your corn on the stove, and are convinced that it couldn't possibly taste any better, let me assure you, it can. This roasting method delivers a MUCH sweeter, more delicious corn on the cob, not to mention that it eliminates the annoying shucking you must do before you boil it.

Hallelujahs: Delicious, Fast, Easy, and dirties one less pan!
Hellfires: None that I can think of, unless you're one of the crazies whose convinced that tin-foil causes cancer. In which case, while you might outlive me, you are going to be missing out on a lot of greatness!

Roasted Rosemary Corn on the Cob
Corn on the Cob (however many ears your family needs!)
Fresh Rosemary to taste (or dried)
Water
Sugar


-First, fill a large stockpot with water
-Add a couple of handfuls of granulated sugar to the water.
-Submerge the corn, and soak for 30 minutes prior to grilling.
Here's my corn getting ready for its delicious bath:
Photobucket
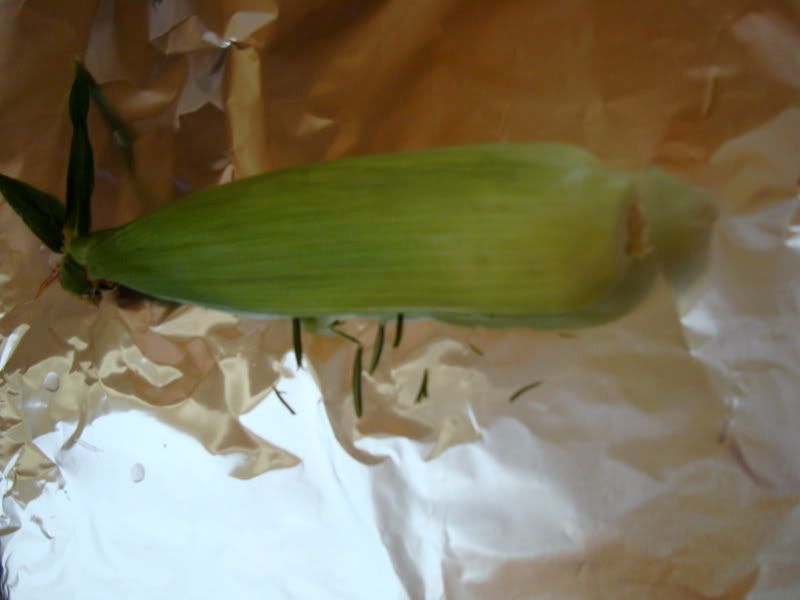
-After the corn has soaked for 30 minutes, place corn in center of large sheet of tin foil.
-Add a few sprigs of fresh (or dried) rosemary. For a stronger flavor, add more rosemary than I did.
Photobucket
-Roll up the tinfoil, so the corn is completely wrapped in it
Photobucket
-Place on grill, and cook at 350* for about 20-25 minutes, turning occasionally so that all 4 sides receive equal grill time.
Photobucket
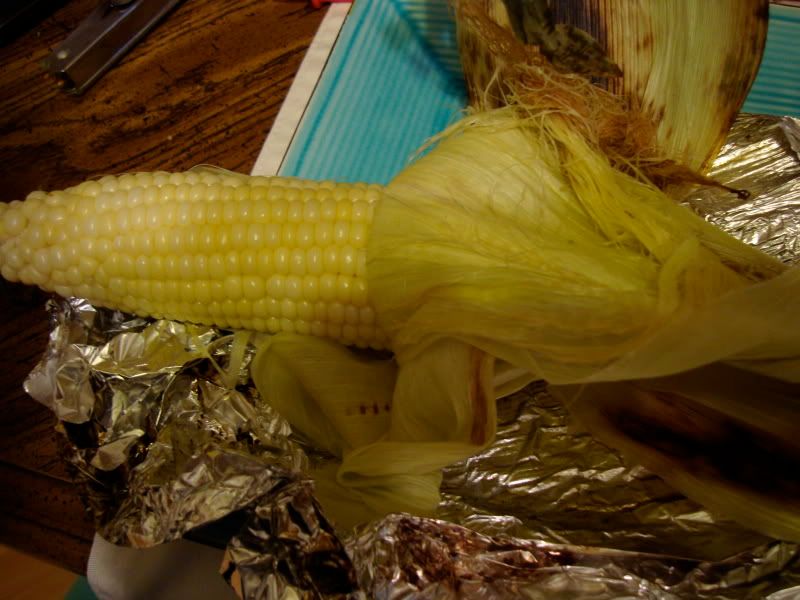
-When it's time to eat, simply unwrap, and pull down the husks/silky hairs. Note how much EASIER it is to remove all of the hairs/husks after it's been cooked. Cut off this portion, and slather with butter, and salt, and ENJOY!

Photobucket

-Note: PLEASE, be very careful when shucking the corn after it's been grilled. It will be VERY hot, and VERY steamy. I usually get The Hubster to do this for me, so my delicate fingers don't get burned.
-Seriously, please be very careful here. Don't forget I'm planning on going to medical school, and I need to be able to get malpractice insurance. I don't want to be stuck paying higher premiums because one of you knuckleheads sued me after getting a corn on the cob facial you weren't expecting!

Seriously, these recipes are delicious. I have a VERY talented family, who don't mind sharing their recipes (and their lives) with me, and feel very blessed because of it!

Oh, and I couldn't help but close with a picture of the grillmaster's little helper, beckoning him to get away from that grill, and come back inside and play:

Photobucket